Download Sample Access File:
Unlock or Reset Password with Verification Code by Email or SMS
(For Access 2010 or Up)
This sample file provides an extra function to the Login Form. It provides a Forgot Password button for the users who forget their password. The users have ability to reset password or to unlock the login form and pass through to the main form.
How Does It Work?
Before reading the description below, please take a look on the structure of how this download file works. When the Forgot Password button is clicked, the steps below will process:
- No Login ID >> Receive an error message “Please enter a Login ID”
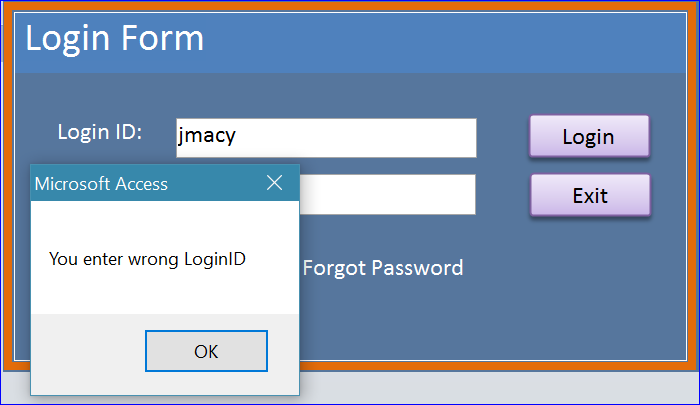
- Incorrect Login ID >> Receive an error message “You enter wrong LoginID”
- Correct Login ID
3.1 Unlock without changing password
3.1.1 Send security code to email
3.1.2 Send security code to mobile phone (text)
Verify security code:
A) Incorrect code >> Receive a message “Incorrect security code!”
B) Correct code >> Open form:
1. Open Admin Form if user is an Admin
2.Open Main Form if user is a regular user
3.2 Reset password
3.2.1 Send security code to email
3.2.2 Send security code to mobile phone (text)
Verify security code:
A) Incorrect code >> Receive a message “Incorrect security code!”
B) Correct code >> Open a Change Password form:
1.Change new password
a.Open Admin Form if user is an Admin
b.Open Main Form if user is a regular user
2.Cancel and keep old password
a.Open Admin Form if user is an Admin
b.Open Main Form if user is a regular user
Forms and Highlight functions are included in this download file:
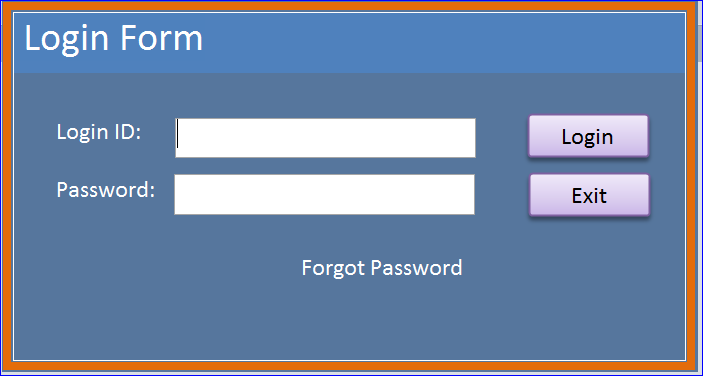
1. Login Form
This form is loaded when the program is opened. It asks the user to enter a Login ID and Password. If both Login ID and Password are correct then it will open the Admin form or Main Form depending on the user security level. For the purpose of this sample file, I added a Forgot Password link to unlock form or reset a password. In order to open the Forgot Password from, the Login ID must be correct or already set in the database for the user. There are three possible outcomes when the Forgot Password is clicked:
- If the user does not enter the Login ID before clicking Forgot Password link, the message “Please enter a Login ID” will pop up.
- If the incorrect Login ID or there is no such Login ID in database, the user will get a message “You enter wrong LoginID.”
- If the user enters a correct Login ID which matches with one of the Login ID in database, the Forgotpassword form will open.
2.Forgot Password form
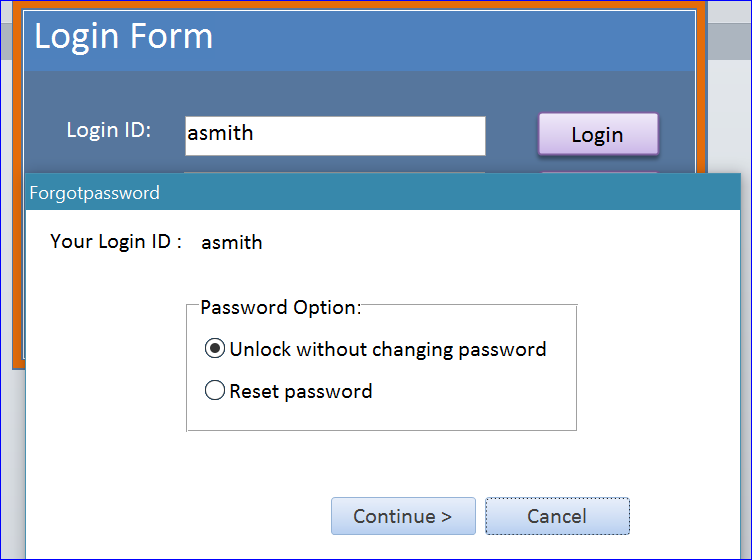
After clicking on Forgot Password with a correct Login ID, the Forgotpassword form will open. For this example, the user enters “asmith” for Login ID which is in database. The Login ID “asmith” will also display on the Forgotpassword form as shown in the picture below. This form provides two options to the user:
- Unlock without changing password
- Reset password
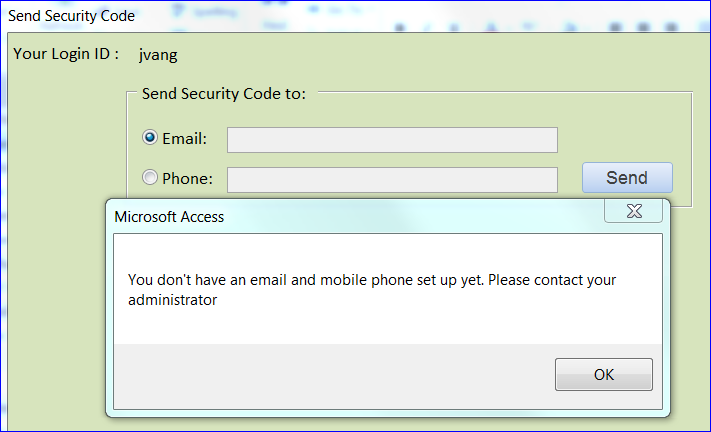
If the user does not have an email or mobile phone number set up in database, the error message “You don’t have an email and mobile phone set up yet. Please contact your administrator” will pop-up as shown in the picture below. After click OK on the message window, the Send button will be disabled due to no email or phone number to send the security code to the user. The user cannot go further step.
3.Send Security Code Form
The Send Security Code form will open after the user clicks on Continue> button with no matter if the user selects unlock or reset password option on the Forgotpassword form on #2. This form will still display the user’s Login ID on top with the email and phone number if the user has them. The user cannot delete or edit the email or phone number on this form. The user will select an email or phone option to send the security code to the user. The code will be sent via Outlook without display the email in Outlook before sending.
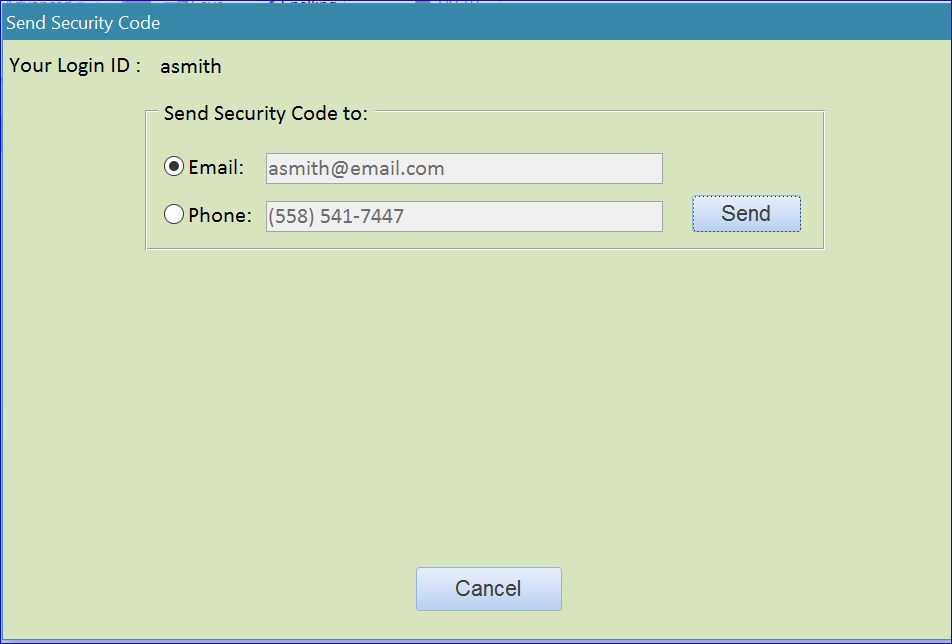
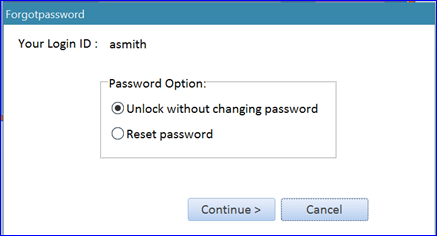
Figure 1: Unlock without changing password Option
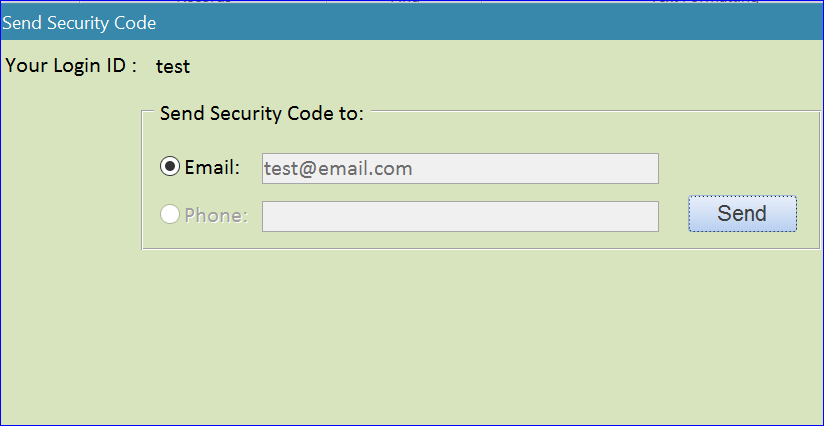
Example of Having Only Email
If the user has only email address in database, when the Send Security Code form opens the phone box will be disabled. The default option will be on Email as shown in the picture below.
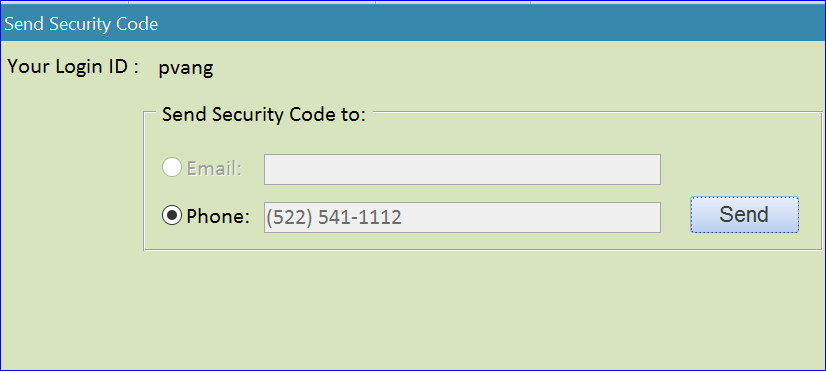
Example of Having Only Phone Number
If the user has only phone number in database, after the Send Security Code form opens the Email box will be disabled. The default option will be on Phone as shown in the picture below.
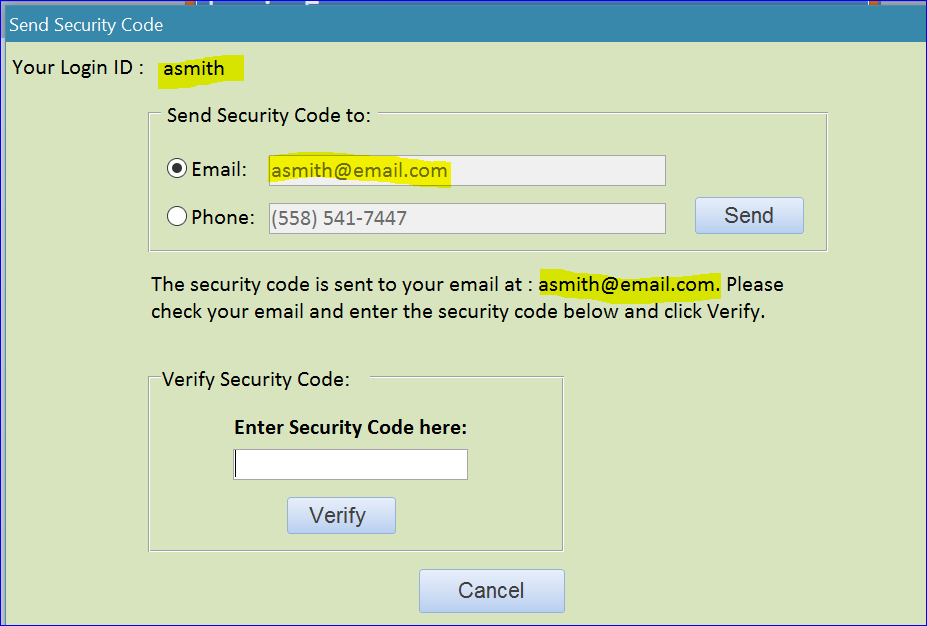
Example of Sending Security Code to Email
In the same form, when the user selects the option to send security code to email, the message will display below “The security code is sent to your email at: asmith@email.com. Please check your email and enter the security code below and click Verify.” Also the Enter Security Code box and Verify button appear same time.
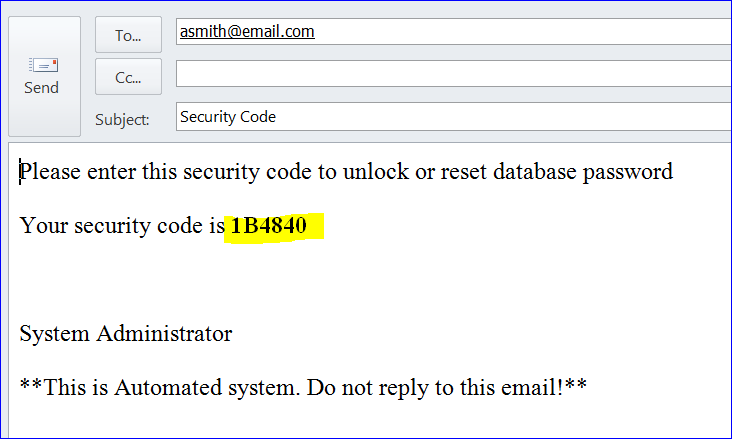
Example of Email in Outlook before Sending
The email is sent to the user with the security code. The security code format is 1 number + 1 Upper case letter + 4 numbers like 1B4840. The letter is case sensitive that is set to the capital letter.
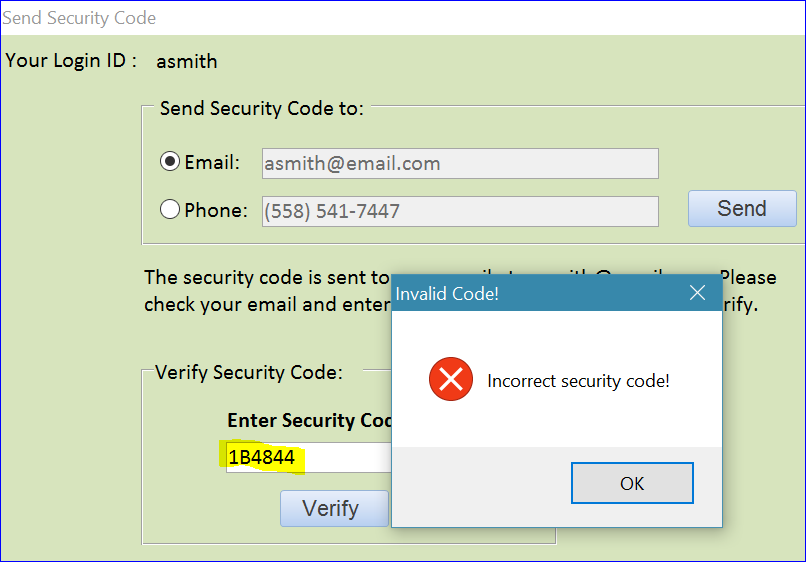
Example of Verifying the Security Code
After the user gets the security code from his/her email, the user will enter the code in the box provided below. If the code is incorrect, the error message “Incorrect security code!” will pop-up as in example below.
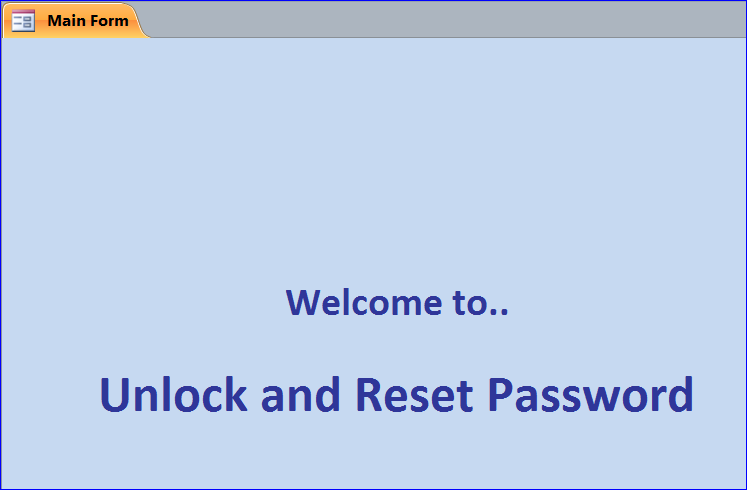
If the user enters the correct security code in the box and click Verify, the Login form and the Send Security Code form will close and the Main Form will be opened if the user has a regular security level. It will open the Admin Form if the user has an Admin security level. For this example, the user with “asmith” Login ID is a regular user, so the program will open the Main Form.
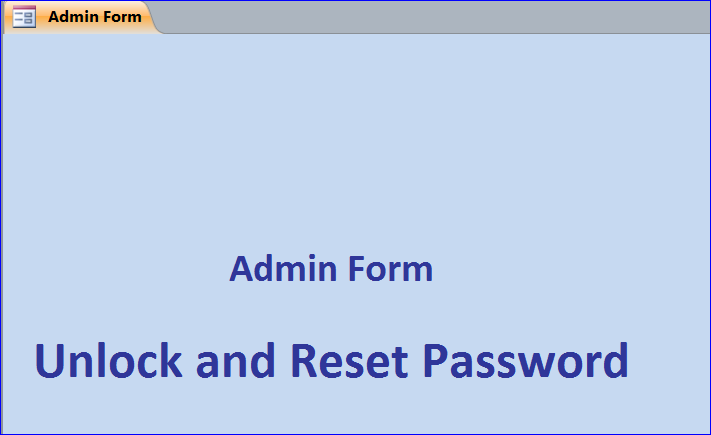
The Admin Form is opened if the user is an Admin with the Admin security level.
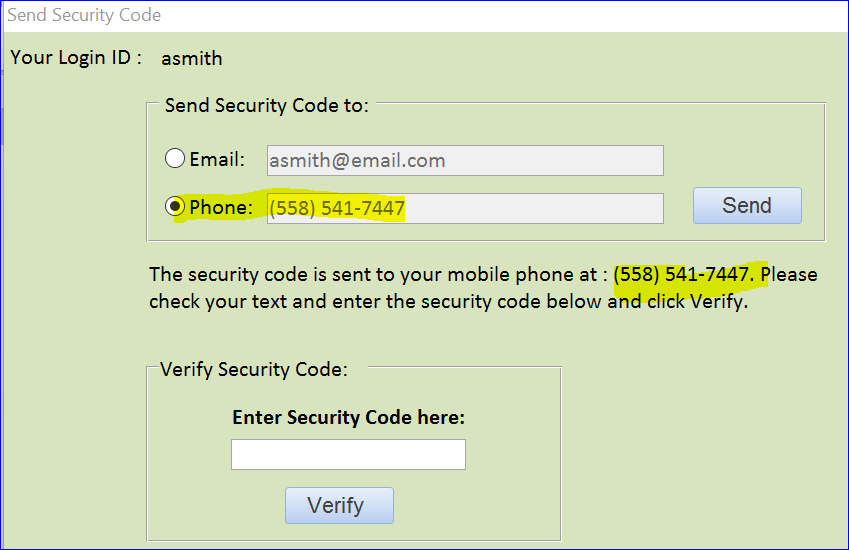
Example of Sending Security Code to Mobile Phone Number (text)
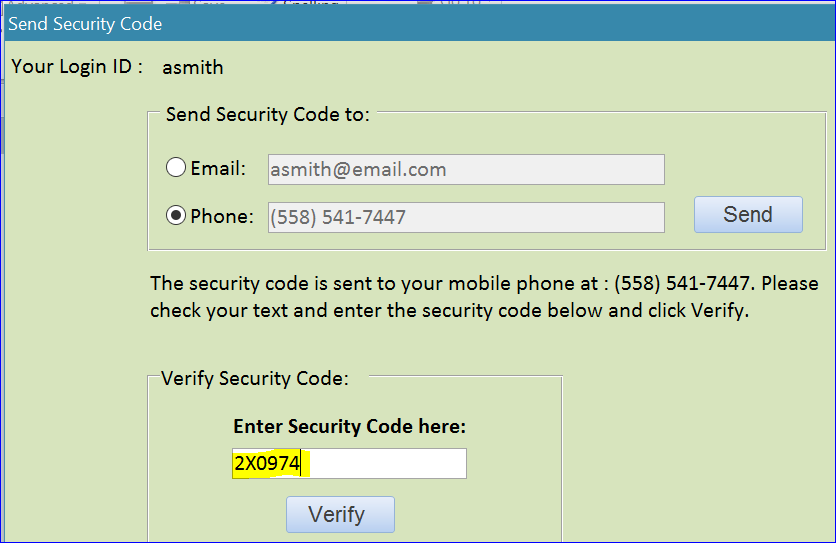
If the user selects the option to send security code to Phone, the message will display below “The security code is sent to your email at: (558) 541-7447. Please check your text and enter the security code below and click Verify.” Also the Enter Security Code box and Verify button are displaying same time.
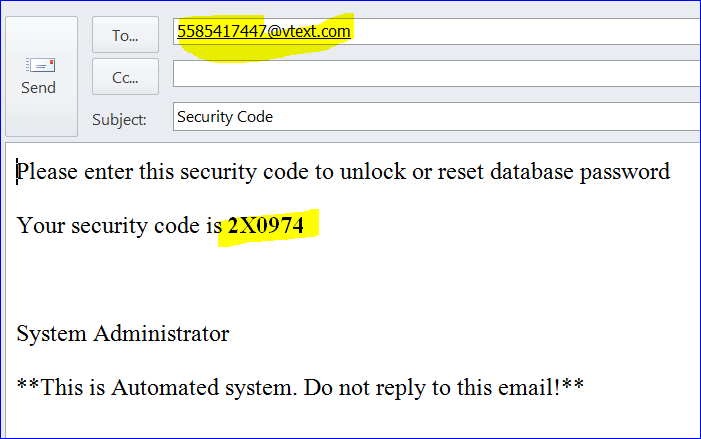
Example of Email in Outlook before Sending
The email is sent to the user’s phone text with the security code.
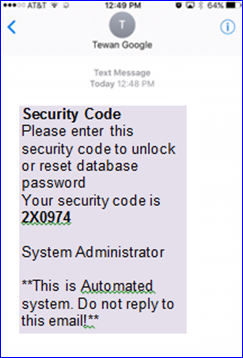
Example of Text received in mobile phone
The email is sent to phone. The picture below is the example of text message that received in the mobile phone.
Example of Verifying the Security Code
After the user gets the security code from his/her text message, the user will enter the code in the box provided below. If the code is incorrect, the error message will pop-up as in the example below.

The correct security code is 2X0974. The code is a case sensitive. It is recorded in the table with upper case X. Therefore the correct security code must be 2X0974 with the upper case X as shown below.
Example of Missing a Provider for Mobile Phone
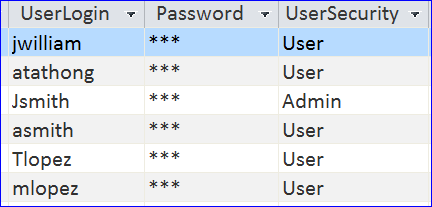
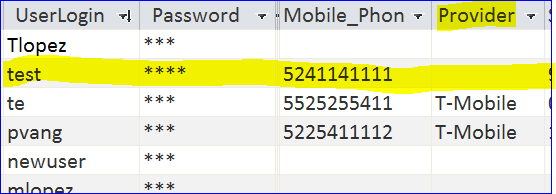
Per the user login list below, the user Login ID “test” has a mobile phone number, but no provider is selected.
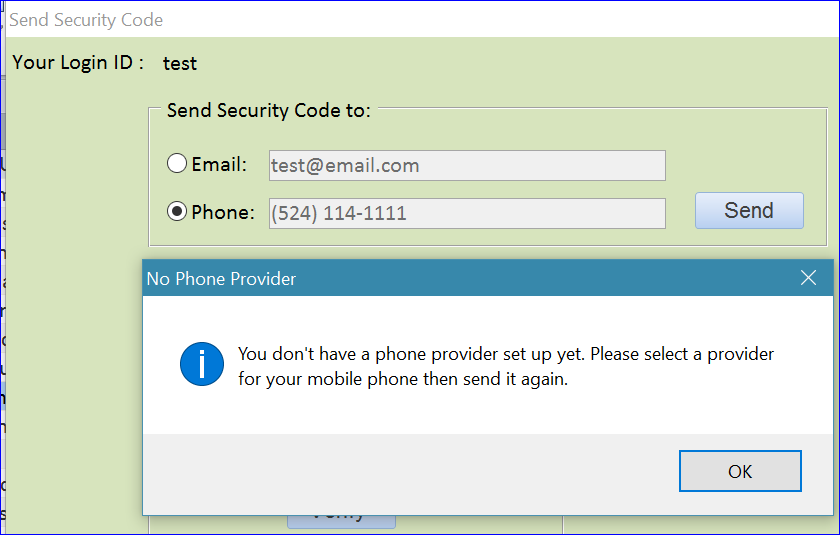
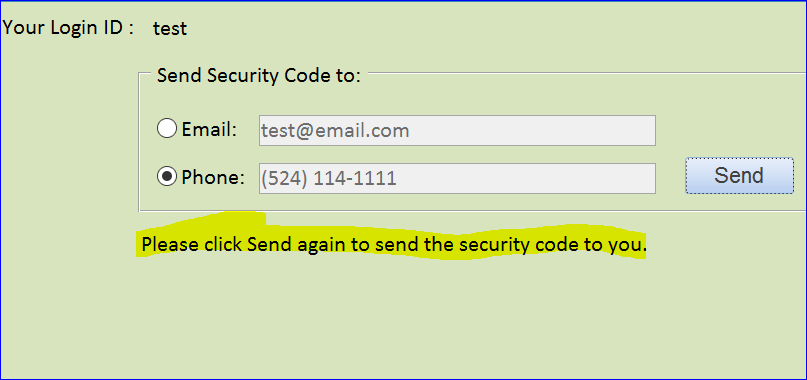
If the user “test” selects the option to send security code to Phone and click Send, the error message will display stating “You don’t have a phone provider set up yet. Please select a provider for your mobile phone then send it again.” After clicking on the OK button, the Update Provider form will open.
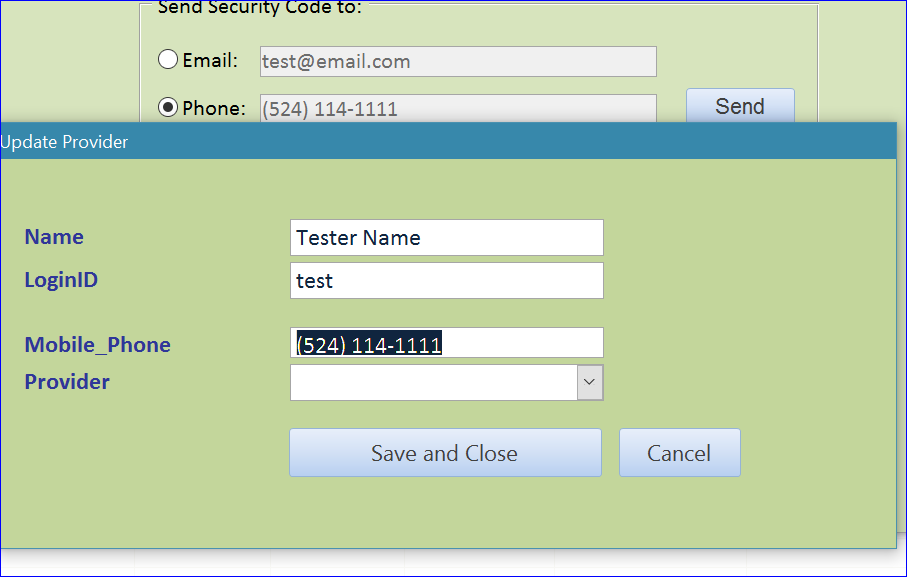
4.Update Provider form
This form is opened with information of that user. The user cannot change the name or LoginID on this form, but able to change the mobile phone number and need to select service provider for this phone number. If the user changes the phone and select the provider then click Save and Close button, the new phone number will update on the Send Security Code form as well. Then the user will need to click Send again in order to send the security code to text message as shown below.
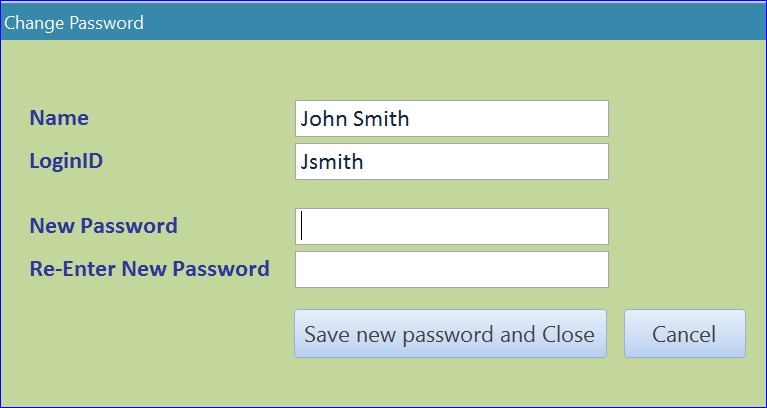
5.Change/Reset Password Form
After the Reset password option is selected and click Continue> button, the Send Security Code form will open with options of sending the code to email or phone. Follow the same procedure of sending and verifying the security code under # 3. Send Security Code Form above. If the user enters the correct code, the Change or Reset password form will open as in the picture below.
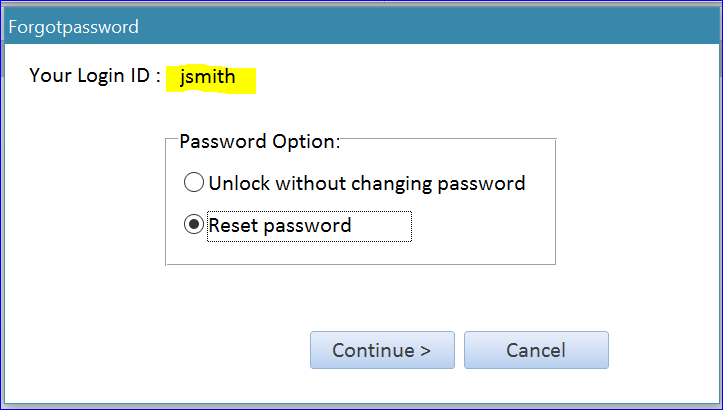
Figure 2: Reset password Option
The Change Password form is loaded with the Name and Login ID which are not allowed to edit. There are two boxes for enter a new password with confirmation of new password. The new password on the Re-Enter New Password box must match to the New Password box in order to update the existing password in database for this user. A Cancel button can be used when the users change their mine not to change the password and want to close this form.
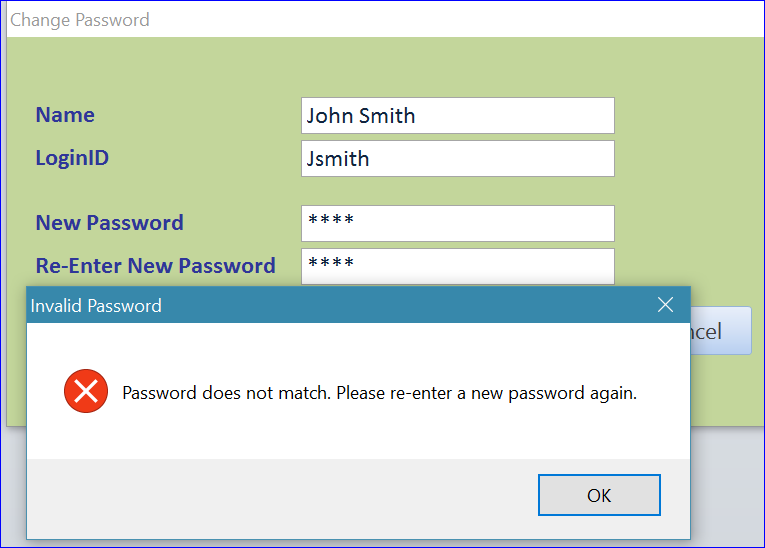
If the password does not match, the error message “Password does not match. Please re-enter a new password again” will pop-up.
If the new password is matched on both boxes, the Change Password form will close and open the Admin Form if the user is Admin or open the Main form if the user is a regular user. For this example, the user John Smith with LoginID “Jsmith” is an Admin, so it opens the Admin Form.
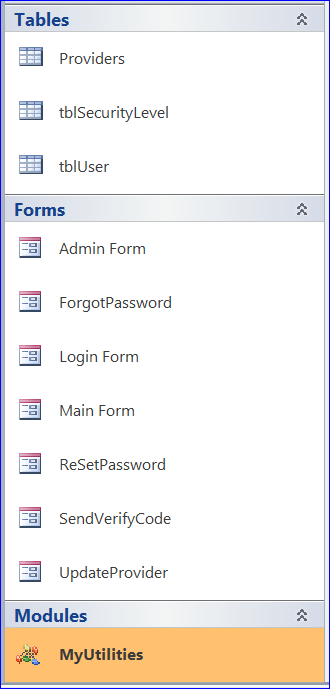
The download file contains 3 tables, 7 forms, and 1 Module.