Download Example Access File: Create Photo Album
(for Version 2010 and up)
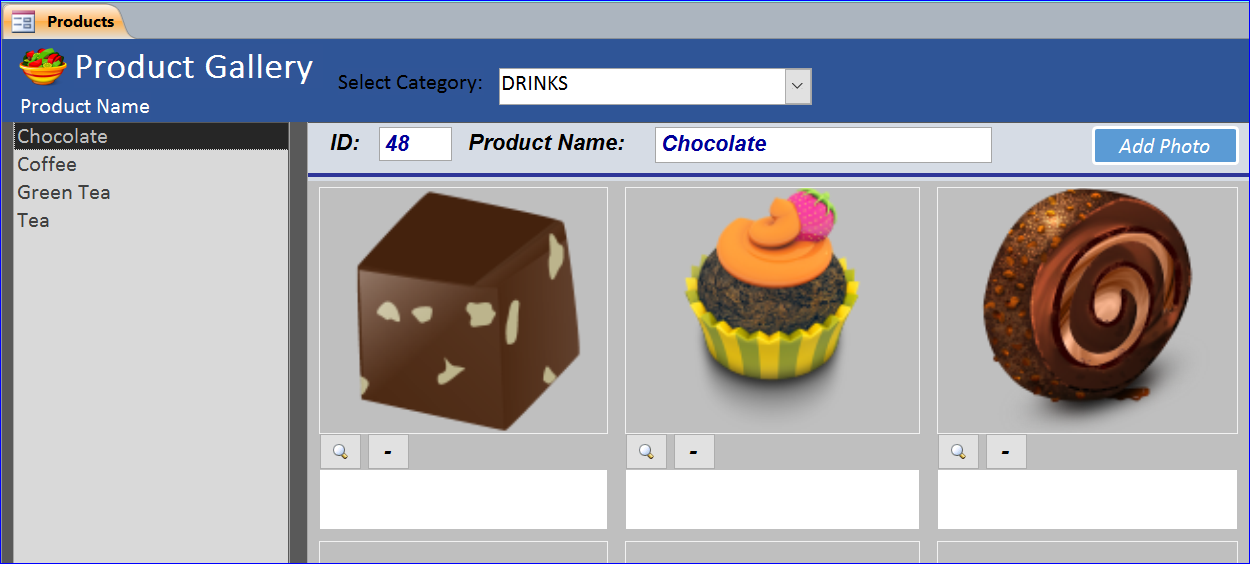
Many photos can be displayed in one form of MS Access. The form with many photos will be linked to one item (product in this example). We can call it as an album of that item. The form will display those photos as a thumbnail. There is a view button for each photo to view a large photo. In this example file, I will create a photo album of 8 photos for each product as shown in the picture below.
Highlight functions in this file include:
#1. Load Blank Form
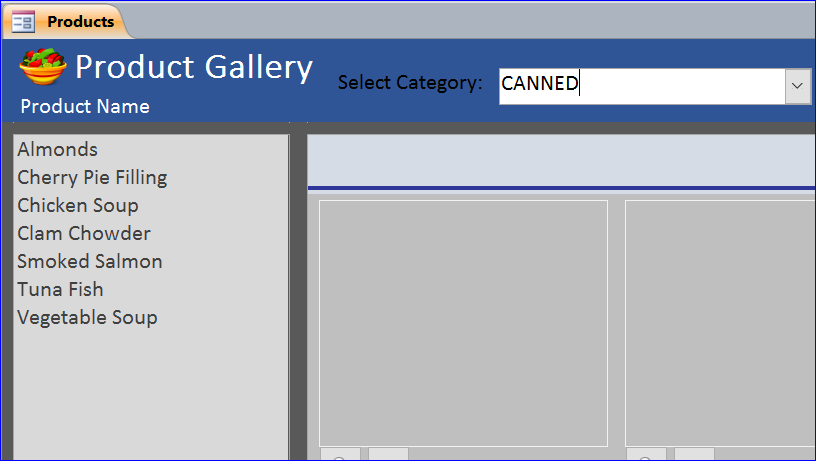
The form will load with a blank form. There are no information displayed for category, product, or photo.
![]()
#2. Select Category
After select the category then the list of product will display. The product list will depend on the category is selected.
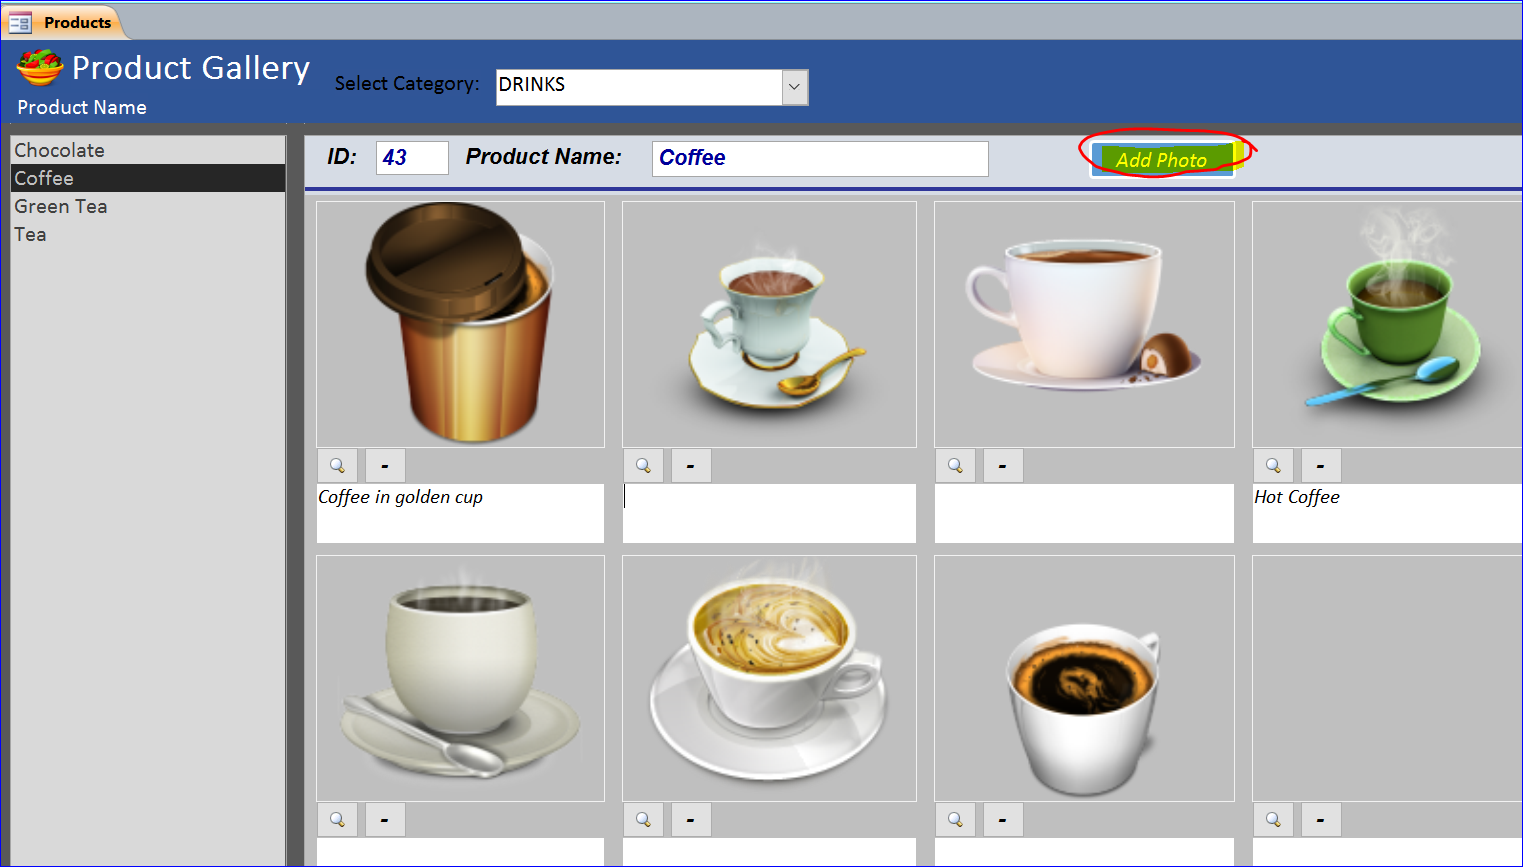
#3. Add Photo
Select the product name before adding a photo. By clicking the Add Photo button, it will open the file dialog window to select the photo file. After selecting the photo, the photo thumbnail will be added to a picture frame on form. There is only one Add Photo button, but it will add the next photo to the next available picture frame on form until full.
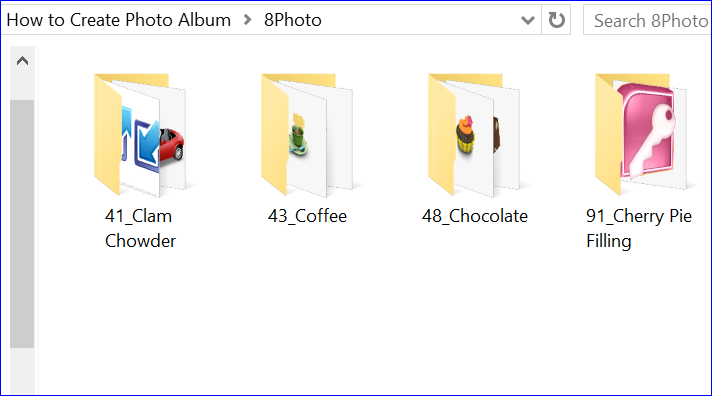
Each time of adding a photo to the picture frame, the adding function also will create a folder for that product and named it as product ID followed by product name as shown below.
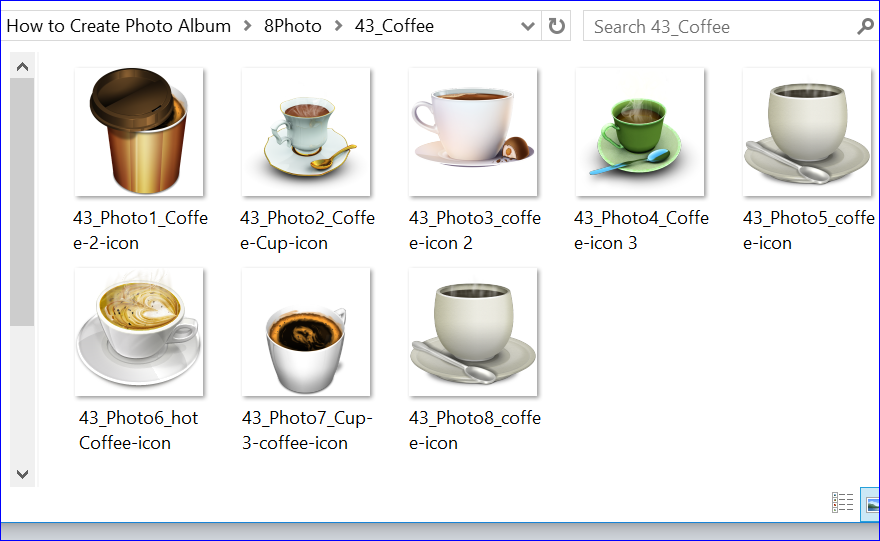
Each time of adding, the function will also copy the picture file to the product folder that created above and will rename that picture file to a new name starting with product ID, photo number, and the original file name of photo as shown below.
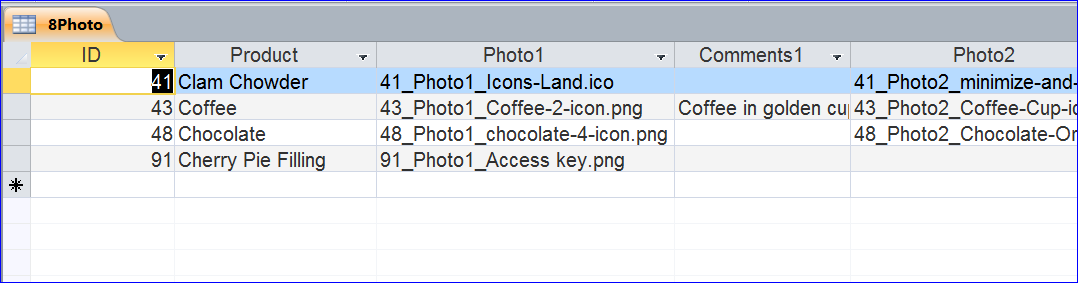
At the same time, it will add the record of product name and file name of each photo into the photo table.
#4. View Photo
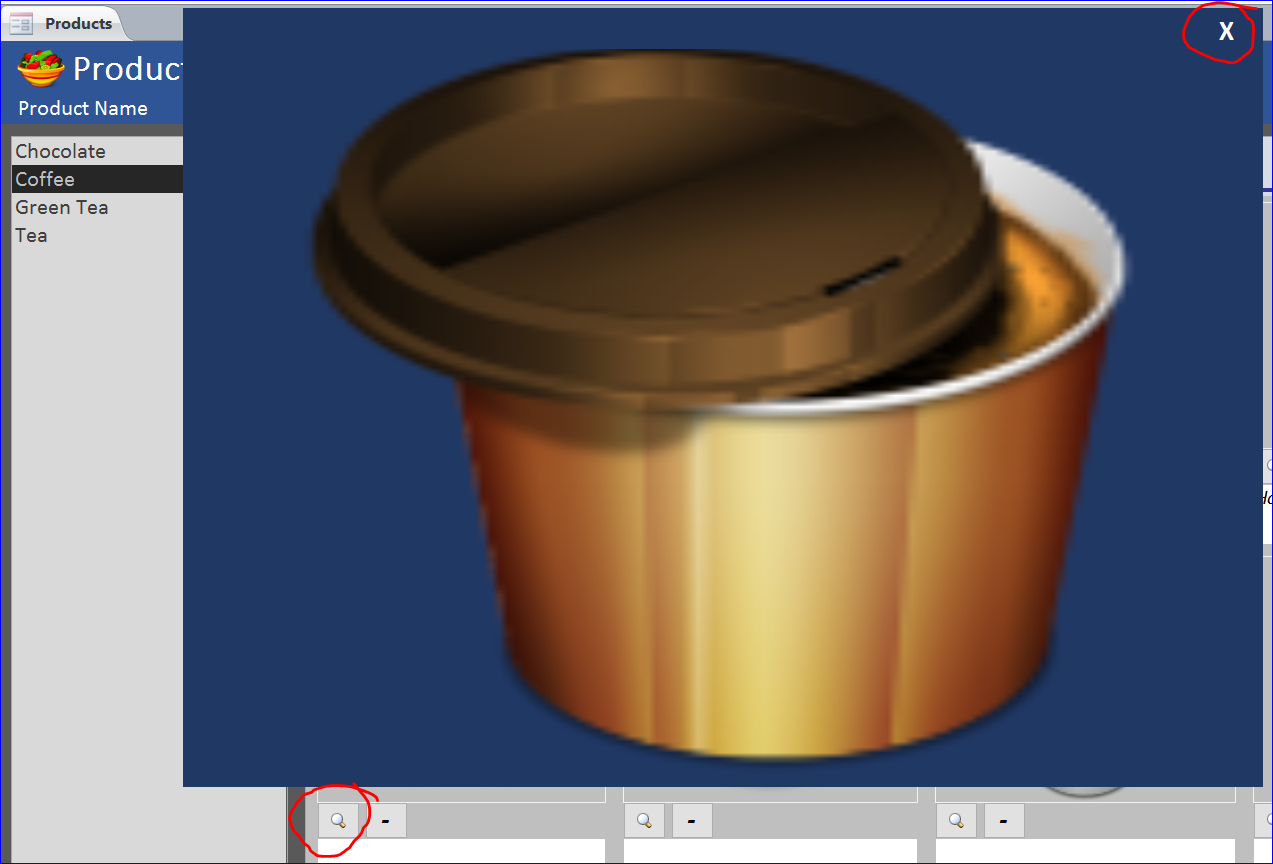
The photo form also provides a view photo button under the image frame of each photo. After clicking on the view button (in the red cycle at the bottom), it will open a view picture form. You can close the picture form by clicking on a close (x) button at the top right hand corner of form.
#5. Delete Photo
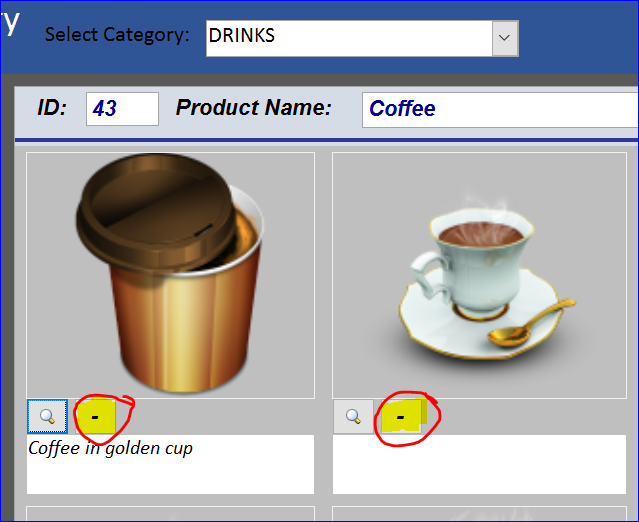
The photo form also provides a delete button (-) under the image frame of each photo. After clicking on the delete button (in the red cycle at the bottom), it will delete a photo from the image frame. It also will delete the picture file from the product folder and picture file name from the photo table.
#6. Comment Photo
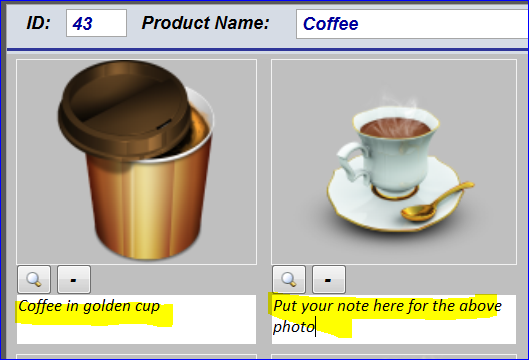
The photo form also provides a white blank text box for user to put a note or comment under the image frame of each photo.
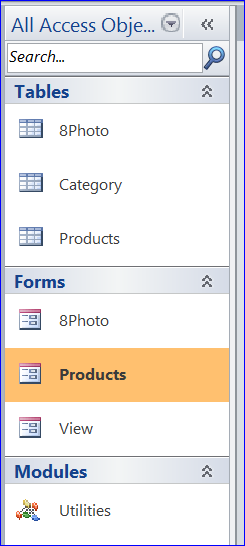
Download file contains:
3 tables, 3 Forms and 1 Module