Download File: How to Store and View documents or picture
(for Version 2010 and up)
MS Access has a built-in function to attach an external file or image to the database. Many people are using it and familiar with this function. It is easy to use; however, it will make a file larger when more files are attached. It might be okay to use this function for a small database, but not for a large database.
The efficient way to store and view files from MS Access is to store only the file name and using the VBA code to open or view the file. It should store the file separately from the Access file.
Related Video
Forms and Highlight functions in this file include:
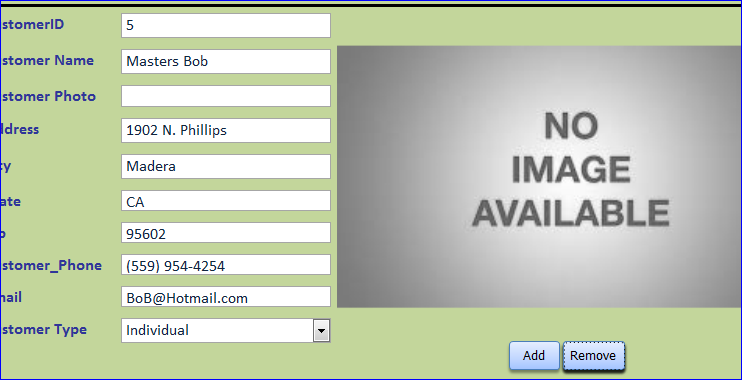
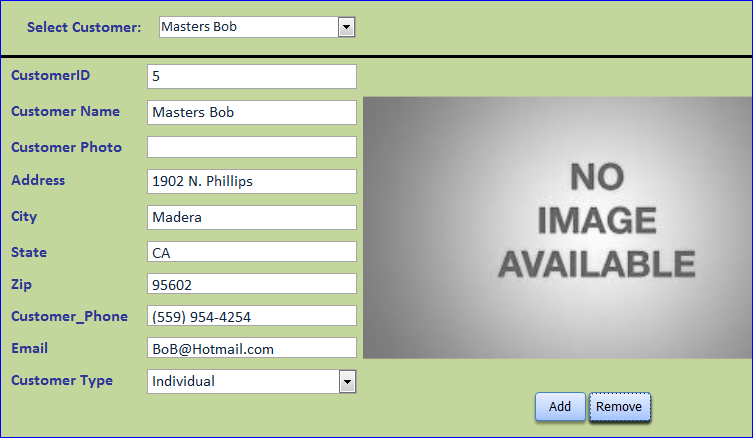
1. Customer Form: this form contains information for each customer. This form will also display a picture for each customer. If there is no picture uploaded for a customer then the picture frame will display “No Image Available.” The user can add or remove the customer’s image by clicking on “Add or Remove” button.
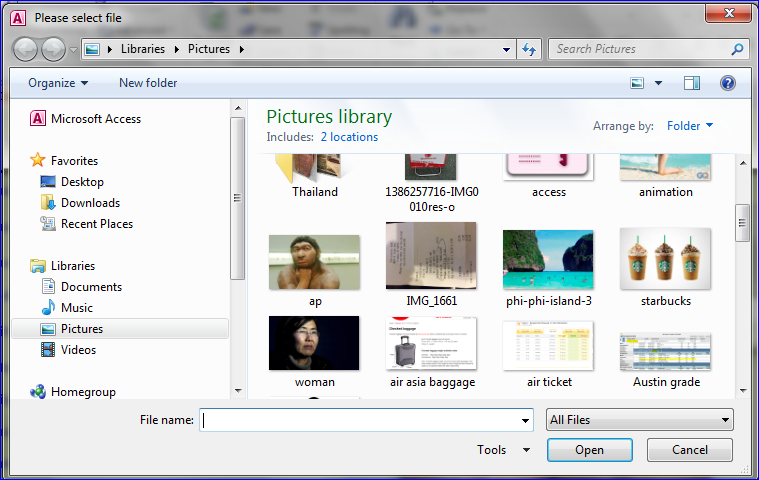
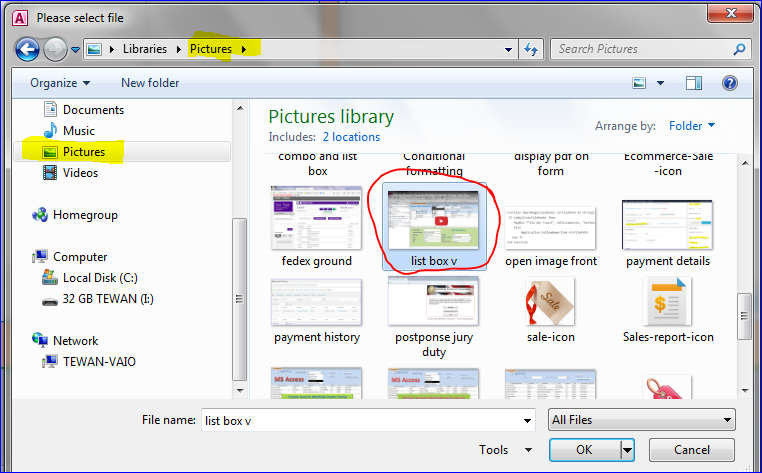
a) Adding Image: A file attaching method will not be used for this purpose. Instead, it will record a file name in a table for each customer then will also copy a file to new location with new name. After clicking on “Add” button, it will open the dialog box to select image.
After selecting the image file, it will update the customer photo field and display an image on the image frame for this customer.
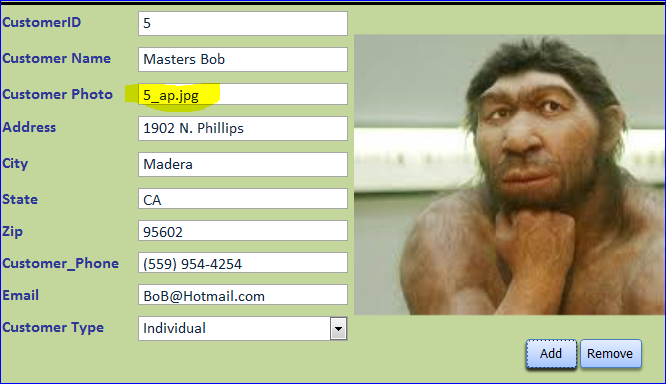
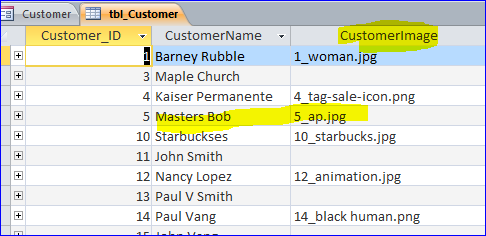
The program copies a file name to customer table and also changes its name by adding a customer ID in front of the original file name.
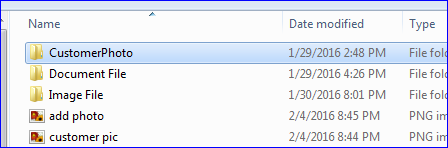
The program also copies the image file to the CustomerPhoto folder in the same directory of Access file.
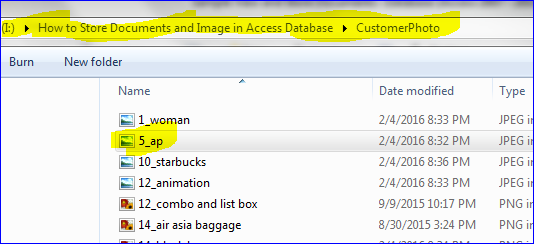
You will see a file name “5_ap.jpg” in the CustomerPhoto folder.
b) Removing Image: click “Remove” button to delete the image/photo. A message that asking a confirmation for deleting the image will pop up.
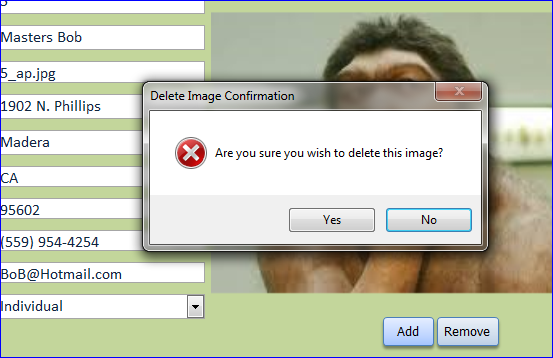
The image will be deleted from this form and deleted from the customer table if answering “Yes” to the message.
The image file “5_ap.jpg” is also deleted from the CustomerPhoto folder. You will not see it in the folder shown below.

2. Documents and Images Form: This form is created with no border style as a Pop-up form. This form includes a Search by Keyword function and display the result on the list box shown on the left side of this form. There are two tabs of Images and Documents on the right side of this form.
The purpose of this form is storing and viewing the images and documents for the selected customer from the list box after searching.
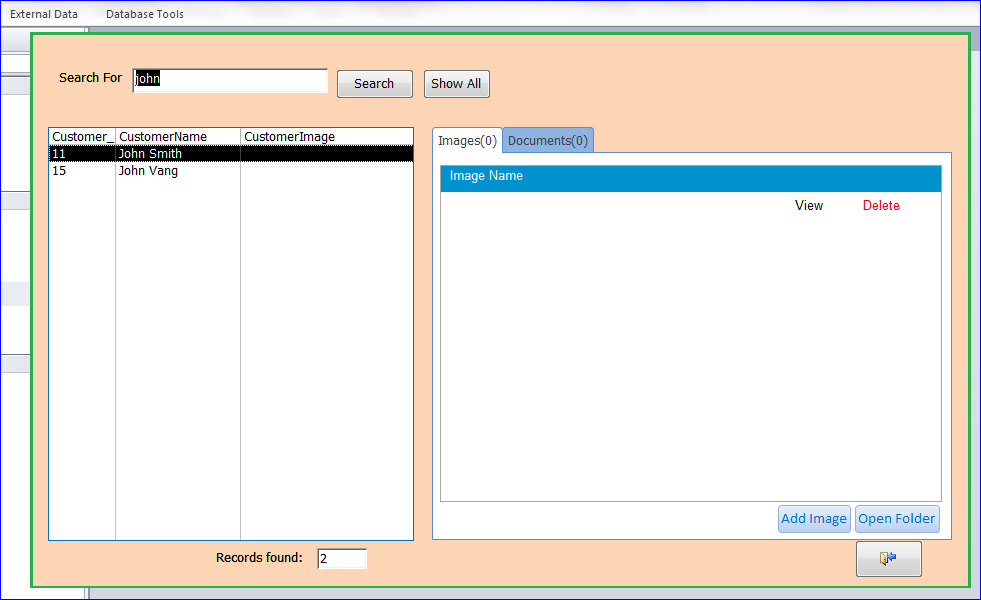
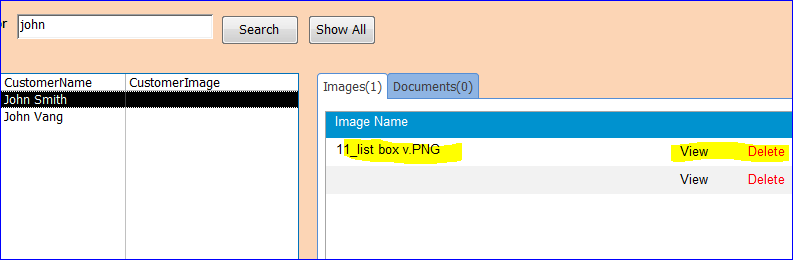
a) Adding Images: select a customer name from a list then select images to add the image files. For this example, I select a customer, John Smith, and select Images tab then click the “Add Image” button to add the image for him.
The image name will show on the Images tab with a new name by adding a customer ID in front of the original file name. There also have the “View and Delete” button for each image or document to view or delete.
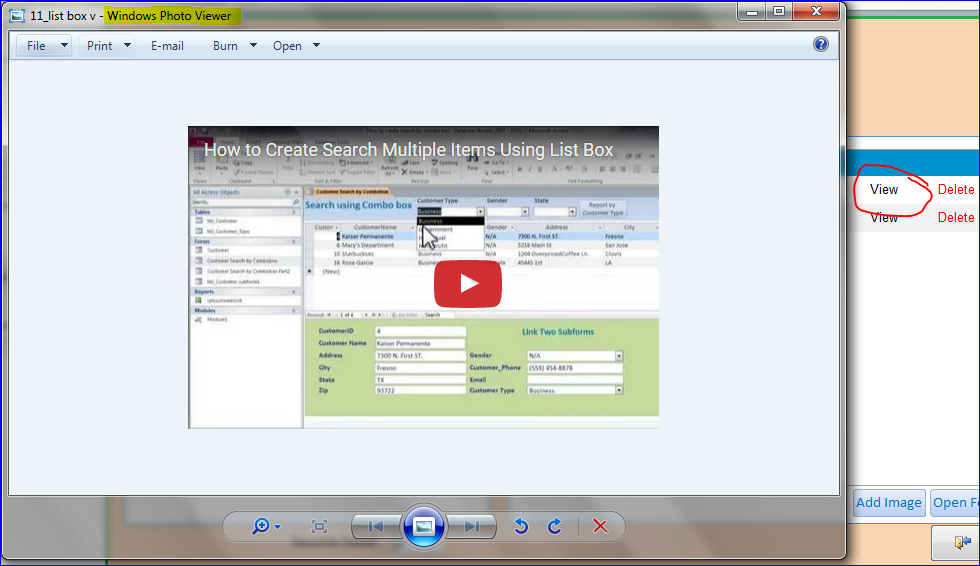
After click on the “View” button , it will open the image file with a default image viewer.
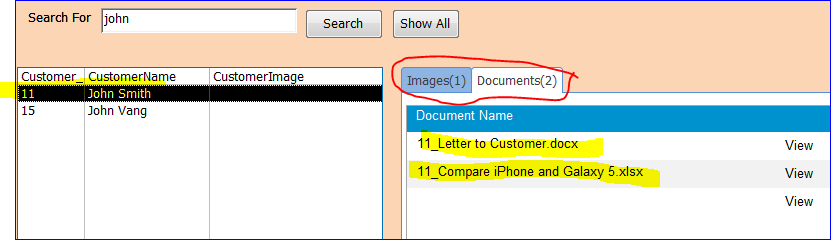
b) Adding Documents: select a customer name from a list then select a Documents tab to add the document files. The customer, John Smith, is still selected and select Documents tab then click on the “Add Doc” button to add the documents for him. Browse to your document files then select the document and click OK.

The document file can be added one at a time. There are documents that I added for John Smith shown below. A number of images or documents will show on the tab; name it “Documents(2)” for two documents on the list for John.
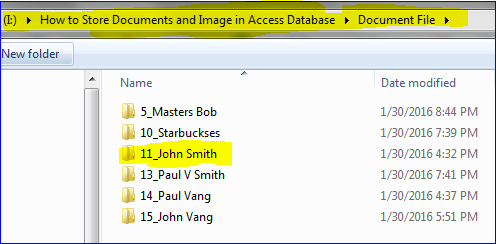
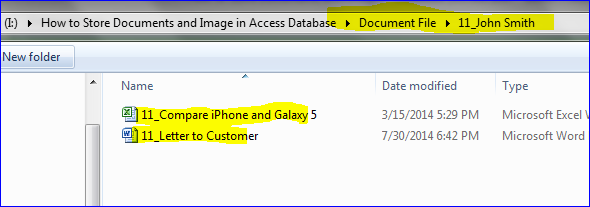
Every time that the images or documents are added, the program will create an image folder or document folder for that customer if it is not already created. You will see a folder 11_John Smith is created for John’s documents. There are two document files under the 11_John Smith folder shown below.
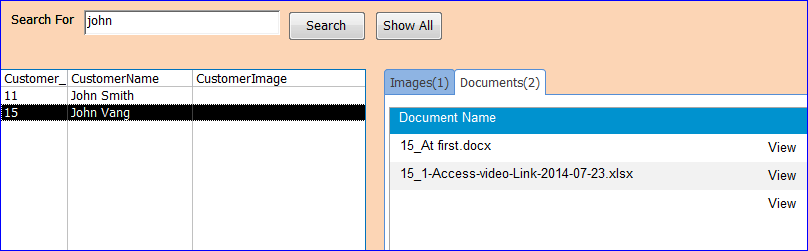
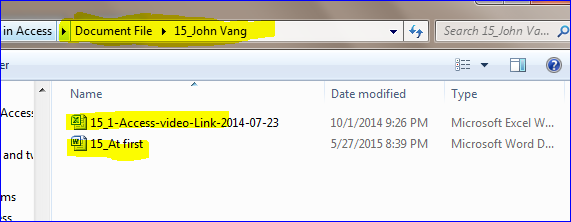
If you select a different customer who has documents in this database it will show his/her documents on the list under the Documents tab. For instant, John Vang has two document files as shown below.
c) Open Document folder: There is an “Open Folder” button at the bottom of each tab for Images and Documents. After clicking this button, it will open the image or document folder corresponding to the customer name and tab selected. In the picture below, a customer John Vang and documents tab are selected. There are two documents show under this folder.
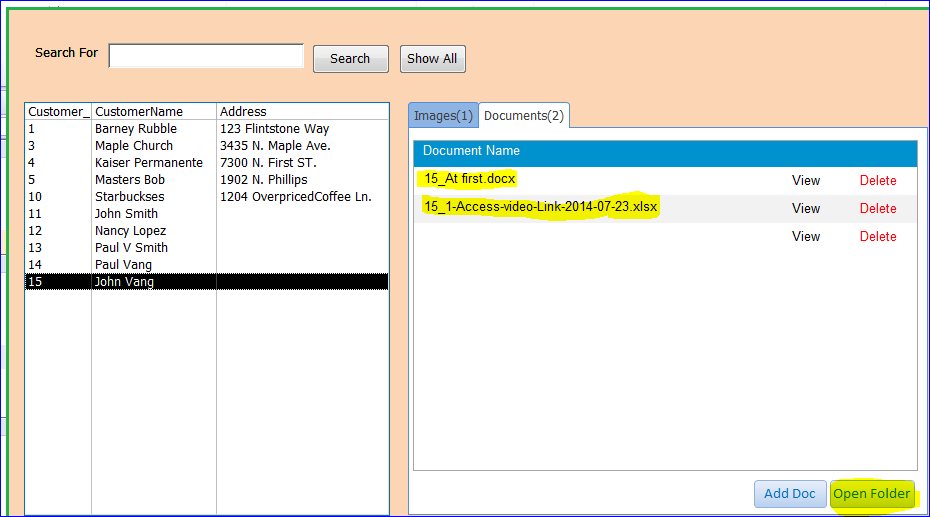
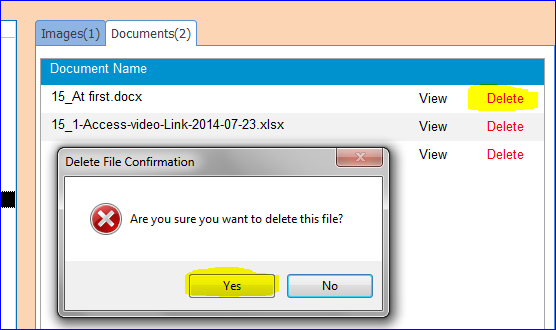
d) Deleting Images or Documents: click “Delete” button on the row of document that you want to delete. A message that asking a confirmation for deleting that file will pop up. On the picture below, the user clicks Delete button to delete a file 15_At First.docx.
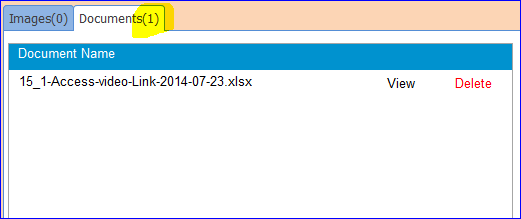
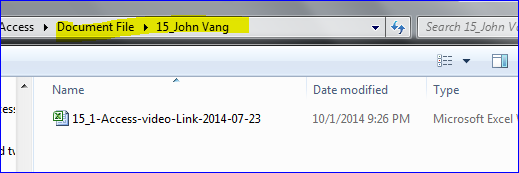
The document will be deleted from this form and deleted from the customer table when answering “Yes” to the message. The document tab will also update the counter. There will be only one document under this tab. The document file is also deleted from the customer’s folder. Now there is only document/file in John Vang’s folder as shown in the picture below.
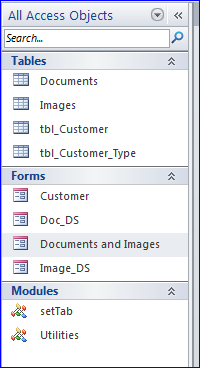
Download file contains:
4 Tables, 4 Forms, and 2 Modules