Download Sample Access File: Membership Check in Using a Scanner
(Version 2010 +)
This is a simple membership time tracking Access database file. This membership database can be implemented to use for the church service, fitness center, sport club, internet café, etc. It can track the members who come to use the services. The key feature for this database is using the scanner to check in and check out members. The staffs or members are also able to check in quickly by using the scanner to scan the barcode on a membership card. There are many other features that also included in this sample file below.
Example of How it Works
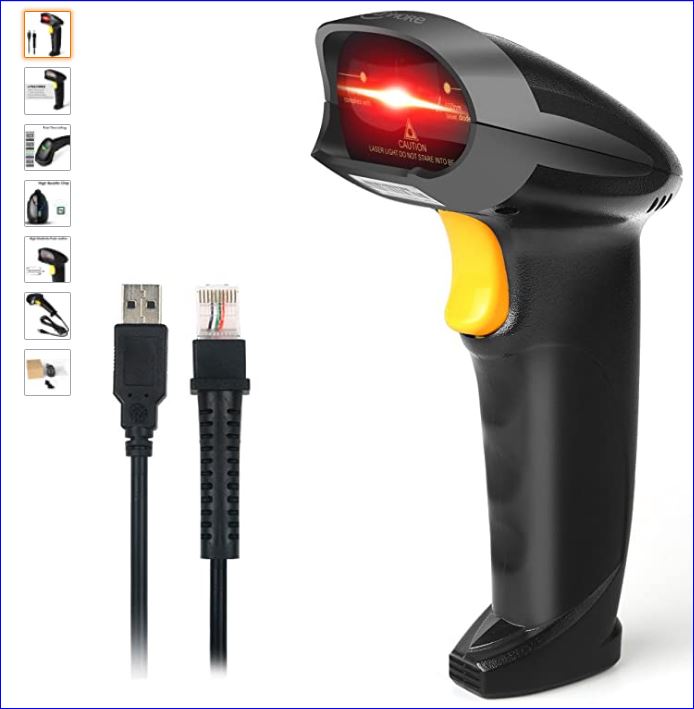
Scanner is Needed (Not included in this download file)
This database is working with any universal scanner. In my database, I use the Handheld USB Barcode Scanner Wired Automatic 1D Bar Code Reader. You can purchase it at anywhere such as Ebay or Amazon. You can scan it right away after it is plugged in.
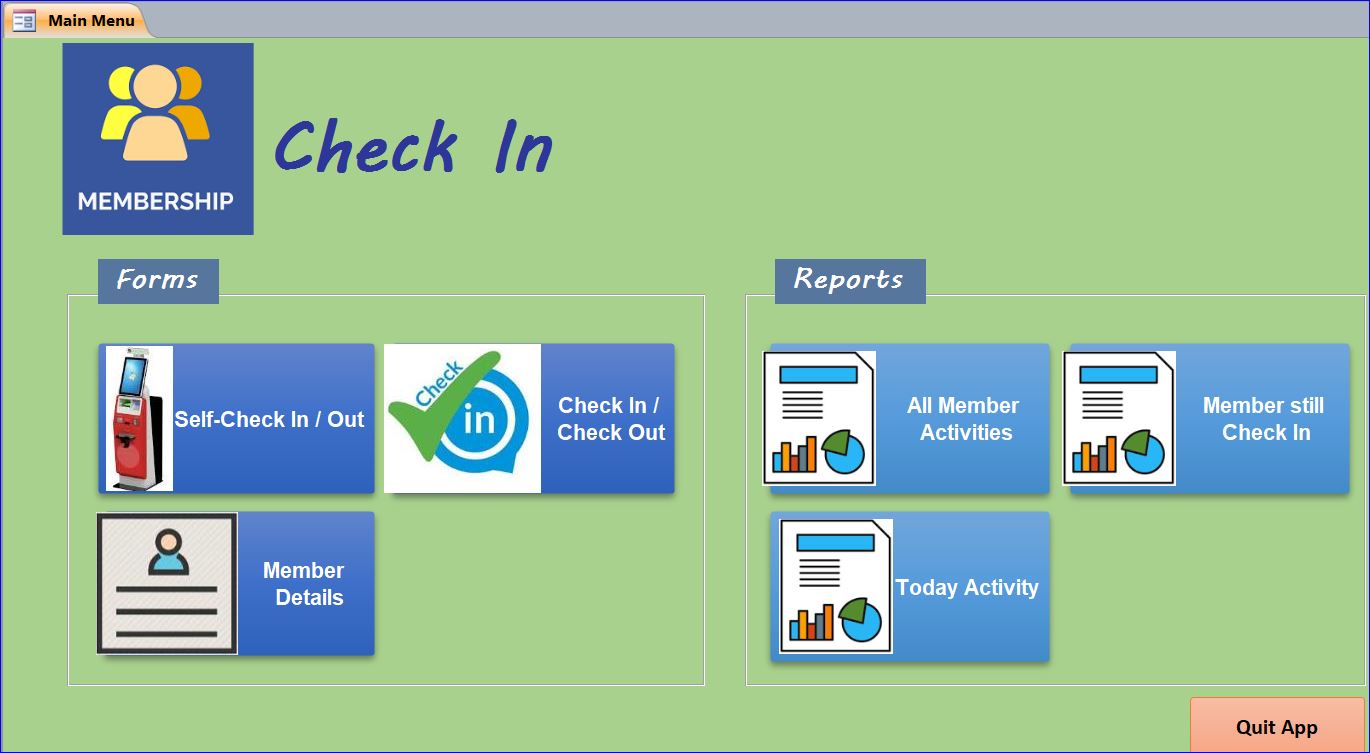
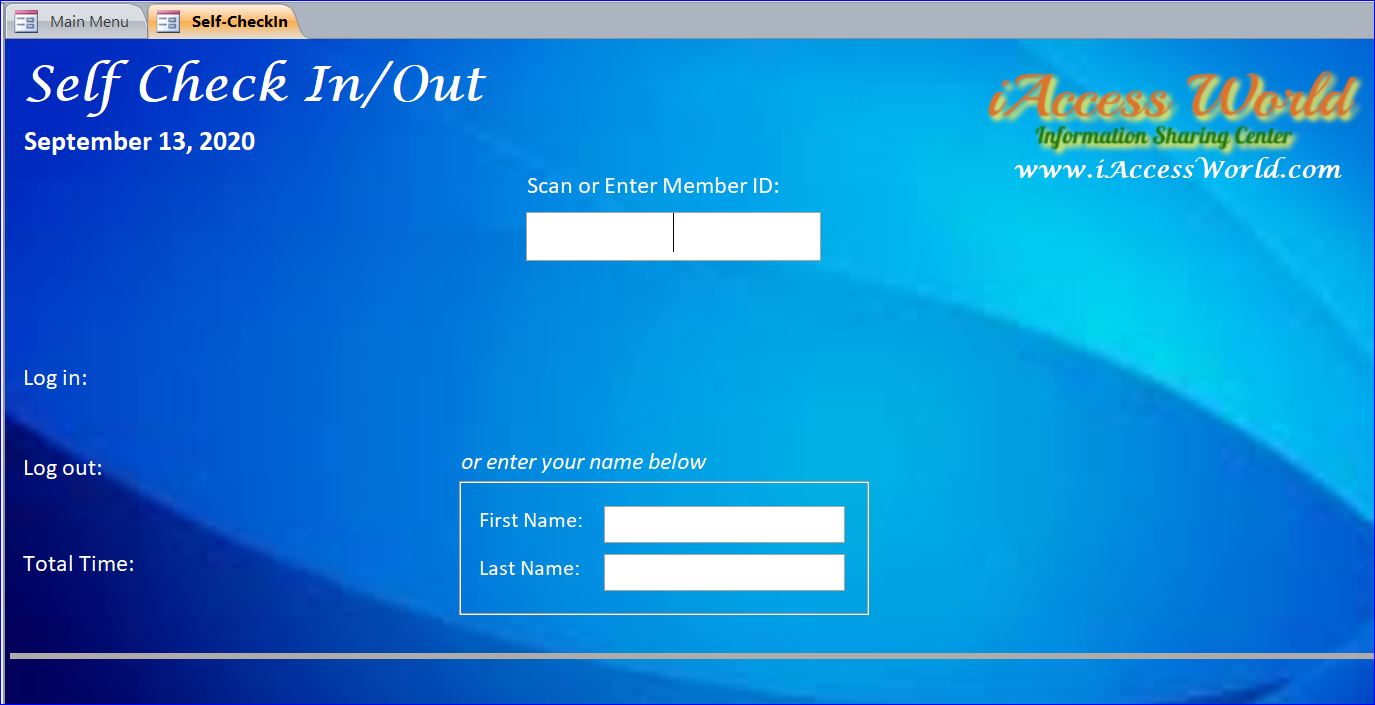
#1 Self-Check In form:
After the Self-Check In form is opened, it is ready to scan the member barcode or enter the member ID. The barcode is a unique number of members from the member table. In this sample file, I use the member id for the barcode. You must have the barcode font installed on your computer. Otherwise, you have to install it first before using this sample file. I download the Free Code 39 font from IDAutomation.com. You can use it as free if your organization revenue is less than $500,000 per year. I also attach this font with this download file for your convenience.
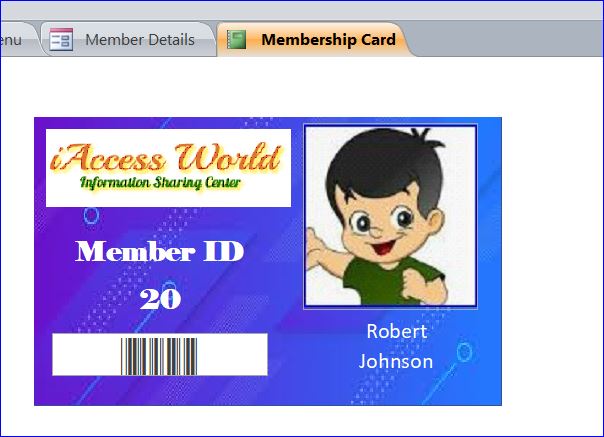
Example of Membership Card

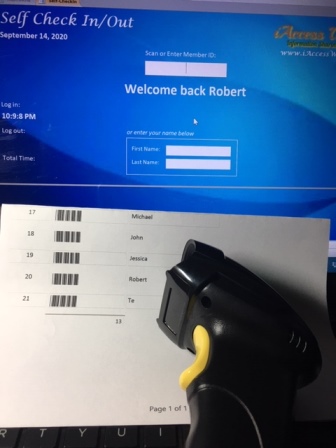
Example of Check in by Using Scanner
In this example, I scan the barcode on Robert’s membership card. His member ID is 20. The Check-in time will show on the screen with a message of “Welcome back Robert.” Then this information will disappear in certain seconds as we set in the VB code. It will be ready immediately to scan the next member after you press the trigger button of the scanner.
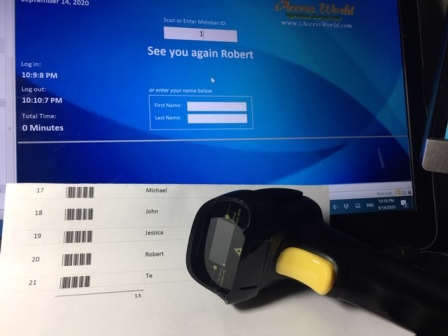
If I scan barcode for Robert again, the Check-out time will show on the screen with a message of “See you again Robert.” It also shows the total time that Robert come to use the service. The Total Time will calculate only for the Check-in and Check-out time happens same day on this example.
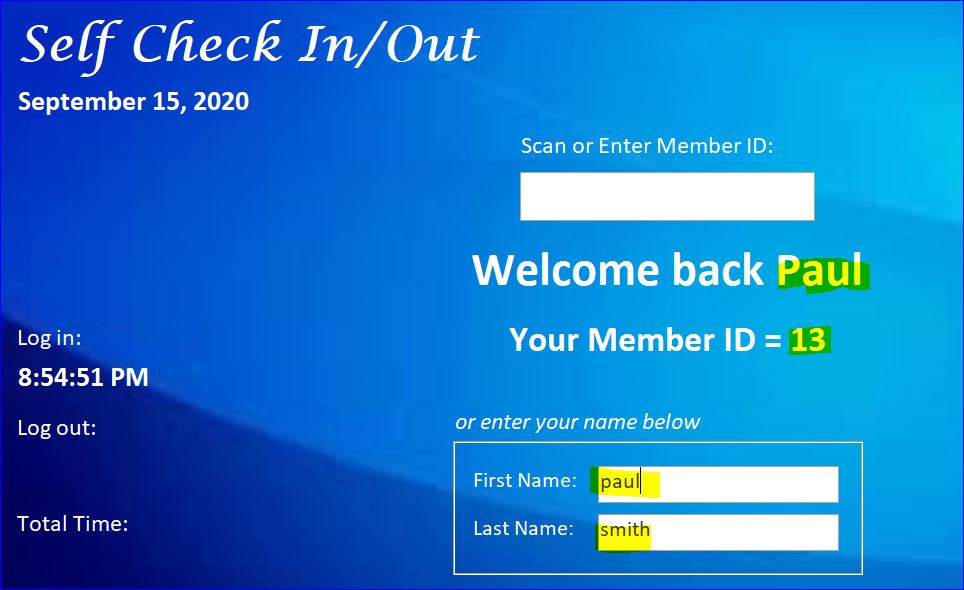
If the members who know their own member ID or forget the membership card, they can enter their name on the First Name and Last Name box instead of member ID or scanner. If the first name and last name match the member’s first name and last name in database, it will check the member in and show the member ID as shown in the picture below.
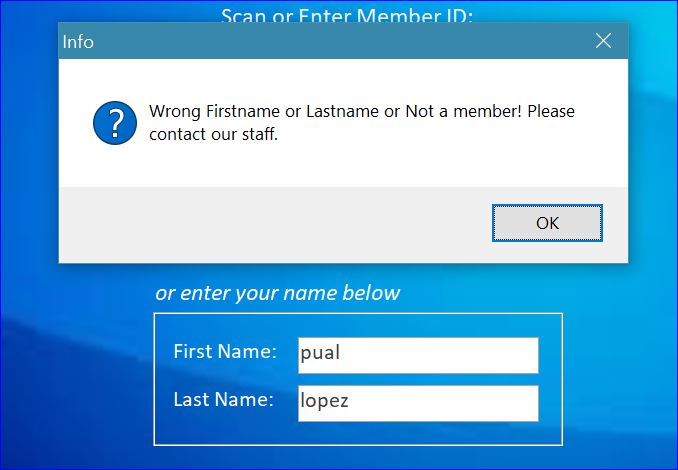
If the entered information doesn’t match the member’s first name and last name, you will get a message below.
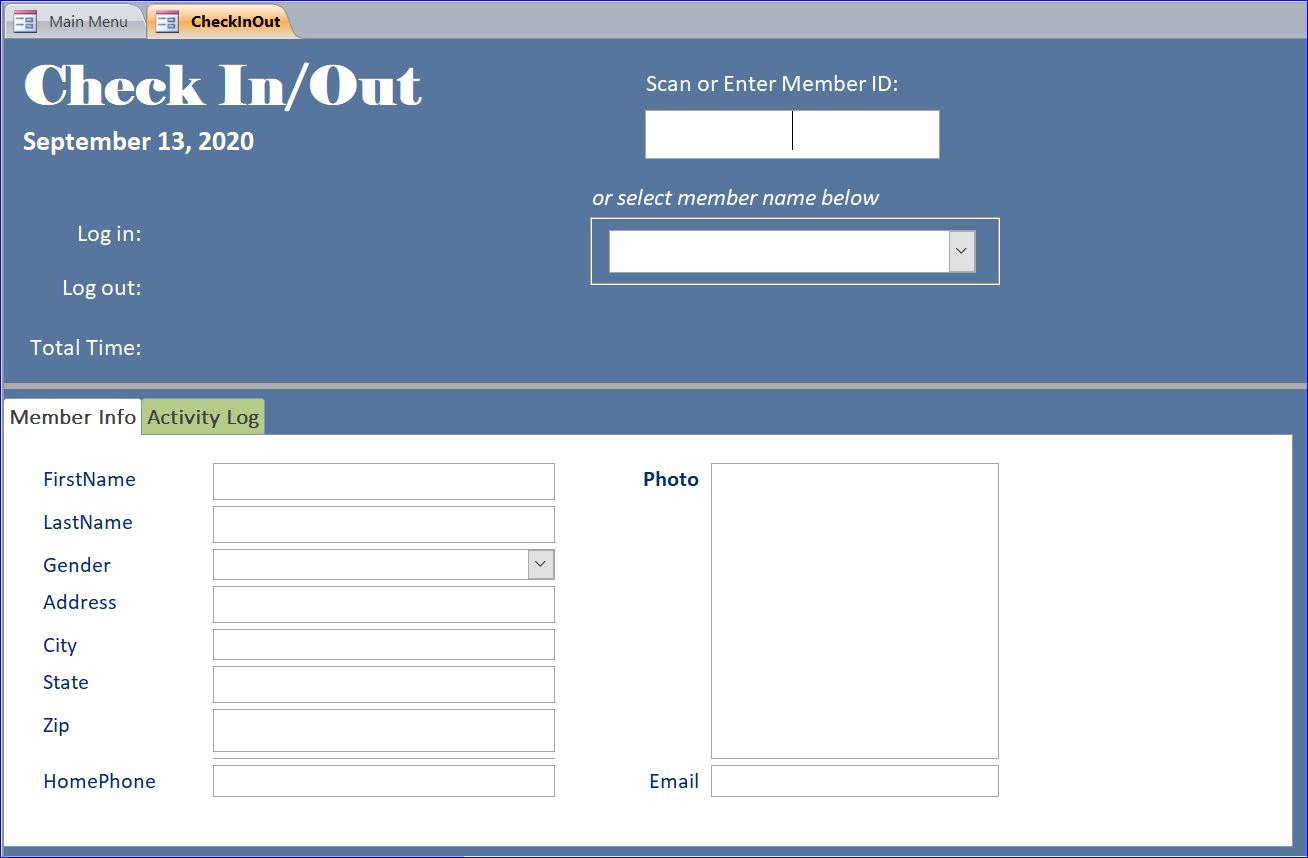
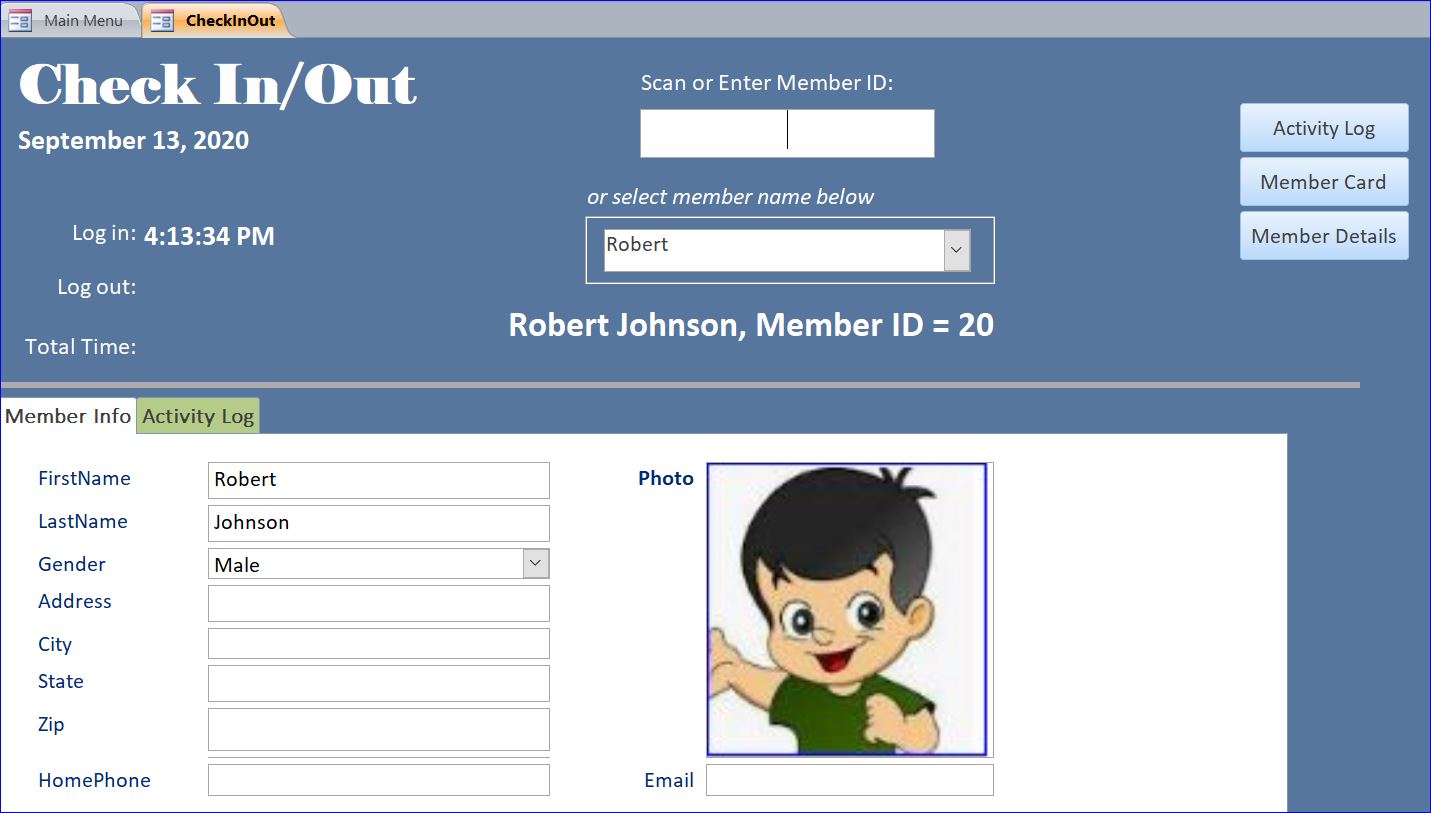
#2 Check In/Out form:
This Check In/Check Out form has the unction to check member in and out similar to the Self Check In/Out form by using the scanner. The staff can use this form to check in the member. This form also provides the member information tab and the activity log tab of the member. There is no timer that is set to clear the information on this form. The information will stay until you check in the next person or you close this form. You can add a clear button if you want.
Instead of typing the first name or last name, the staff can select the member name from a dropdown list. This list is sorted by the member first name.
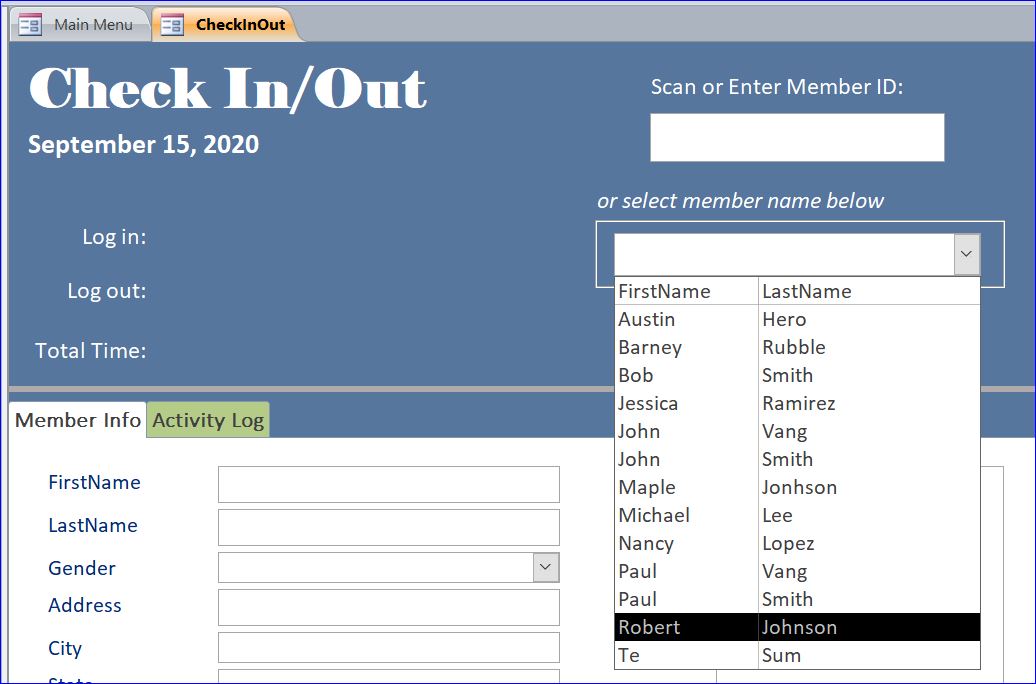
Example of Check In Member from the dropdown list
After checking in the member, the detail information will be updated in the screen including the Member Info and Activity Log tab. Also three buttons: Activity Log, Member Card, and Member Details will display on the right side of this form. The information on these forms is linked to the main form like the member card button will open the Membership Card report as shown below.
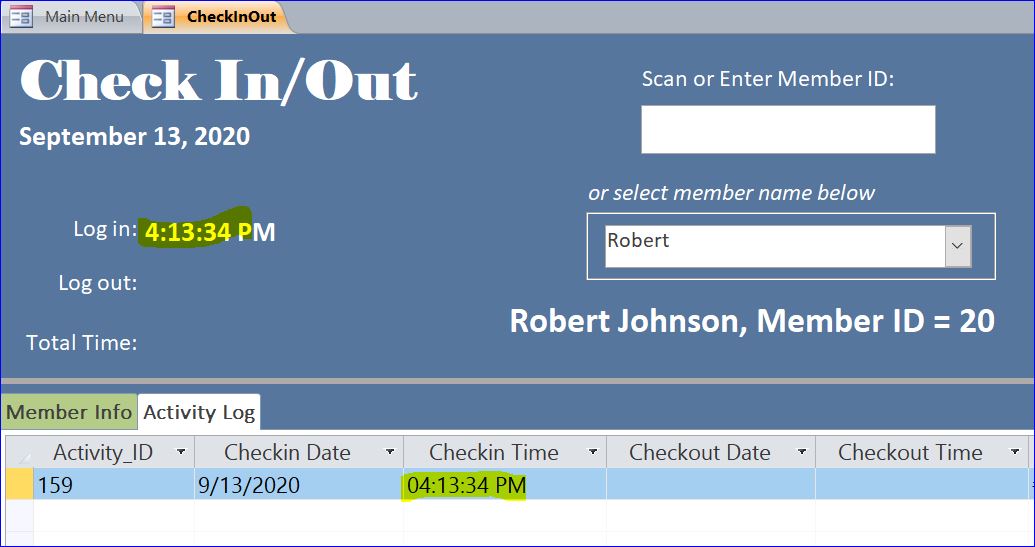
Example of Activity Log tab
After checking in the member, the member information will be updated on the screen including the Member’s name and member ID. The check in date and the check in time are also added into the activity log as shown below.
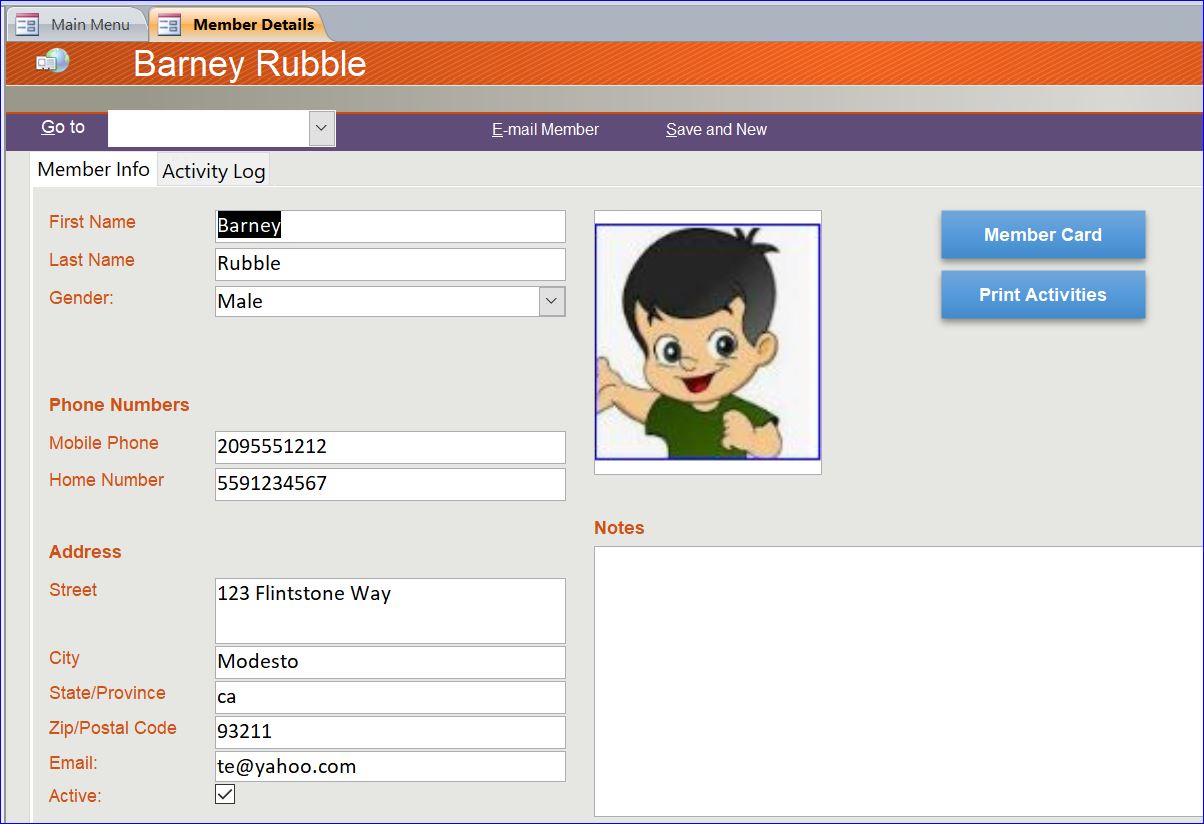
#3 Member Details form:
This form provides all information on each member including the activity log. The staff can select each member from the dropdown box to see more details. The staff can add a new member by clicking on the Save and New button on the menu bar. This form also provides the Member Card button for printing the membership card and the Print Activities buttons for printing the current member’s check in / check out log.
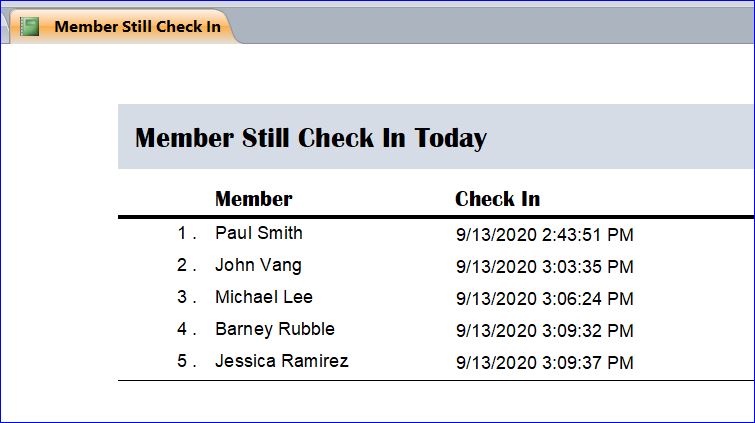
#4 Member Still Check In Today Report:
This report provides the list of members who check in today and not yet check out. The report provides the date and time check in for each member.
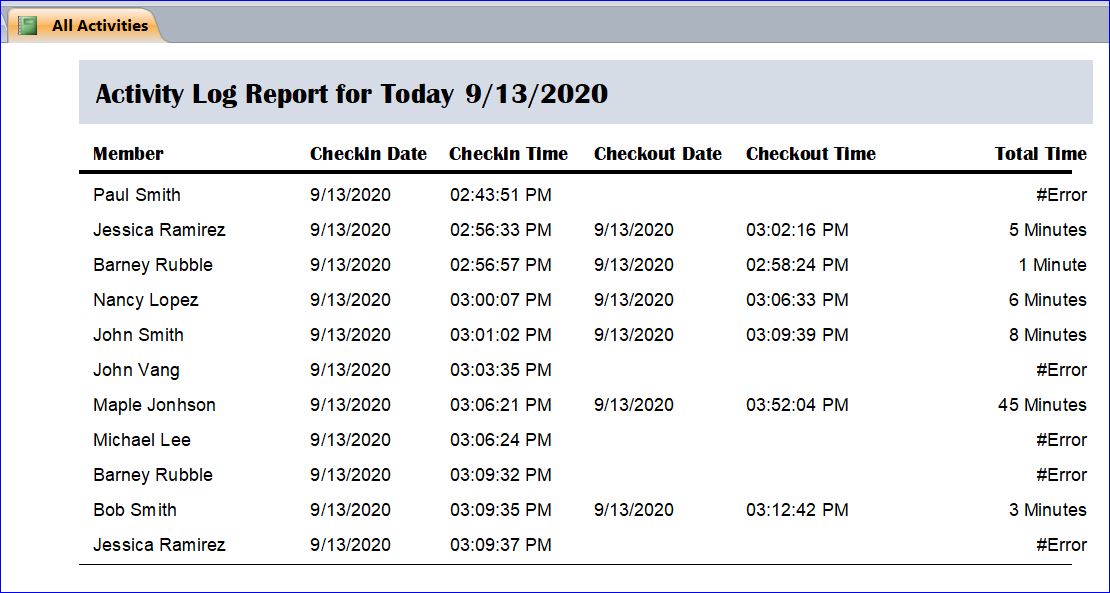
#5 All Today Activity Log Report:
This report provides all today activity logs. It includes the members who still check in and who already check out. It also provides the total time of each member who already checks out.
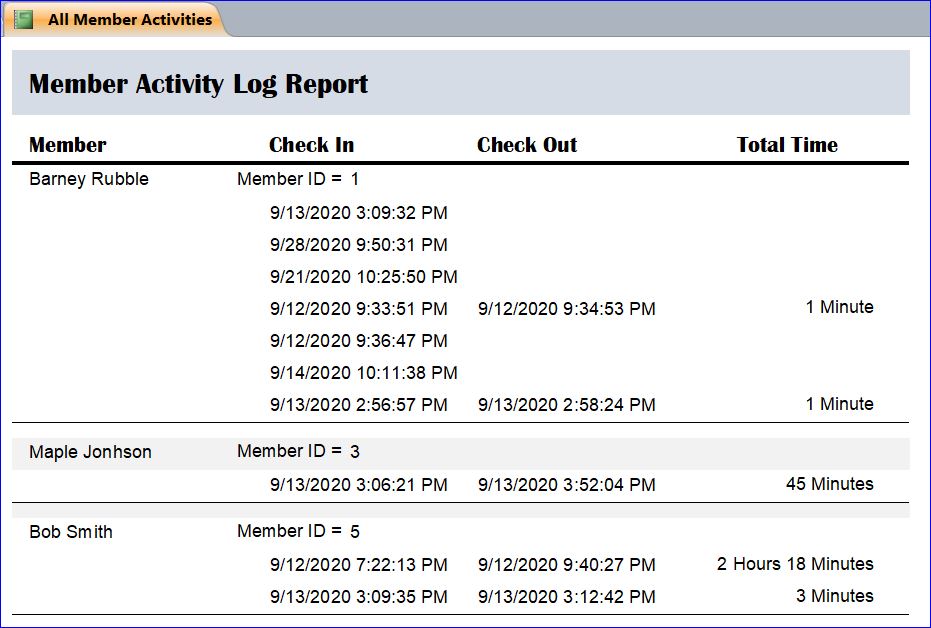
#6 All Member Activity Log Report:
This report provides all activity logs for all members. If you want to print the activity log for only one member, you can use the Member Details form.
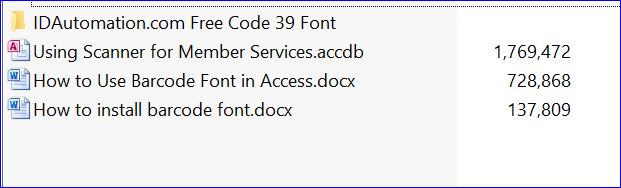
Download file contains:
- IDAutomation Free Barcode Font
- MS Access database file
- Word – How to install barcode font
- Word – How to use barcode font in Access
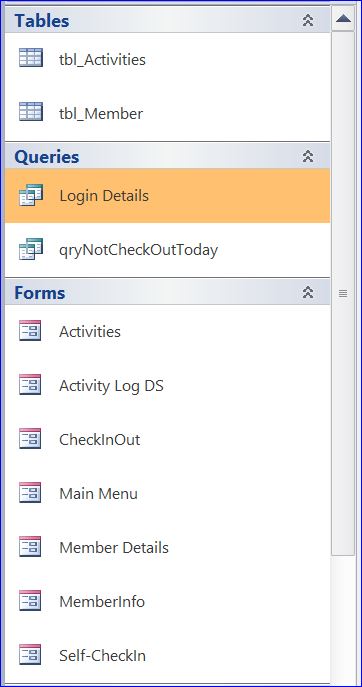
MS Access file contains:
2 tables, 2 Queries, 7 Forms, 5 Reports, 1 Module