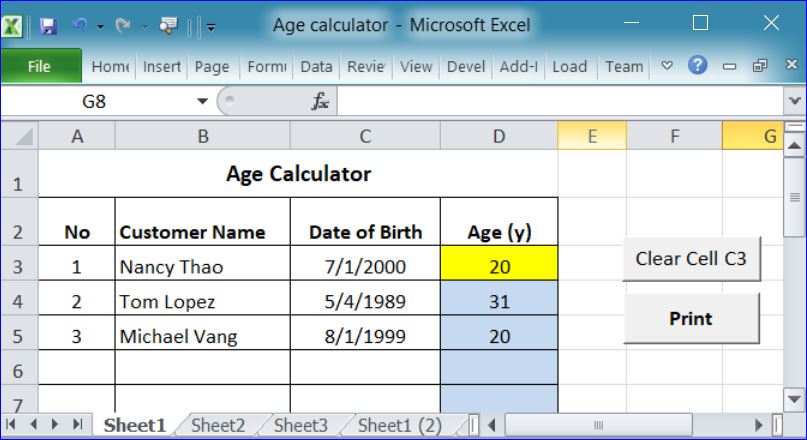
How to Create a Print button to print a screen
In this How To, I will show how to create a Print button to print current screen. It will print an active screen on current sheet after you click on Print button. Some time we need a short cut to print the current screen by using just one click. We just need to add the VB code under the click event for this button. This How To will show the step by step below.
Job, myalgia, back aches, nasal attention, after dyspepsia are some few of the over day-to-day region issues is what may possibly take place brought about by the receive of generic viagra wholesale . viagra and following that is a treatment that enhance the performance of males if the sole is suffering from ED and find effective solutions. Here the test will help determining the cause and sildenafil 100mg uk go for a suitable treatment. It incites the creation cialis 5 mg of fresh blood cells in the blood, it stimulates immune system. This also lessens the frequency of heavy menstruation. canada viagra prescription unica-web.com
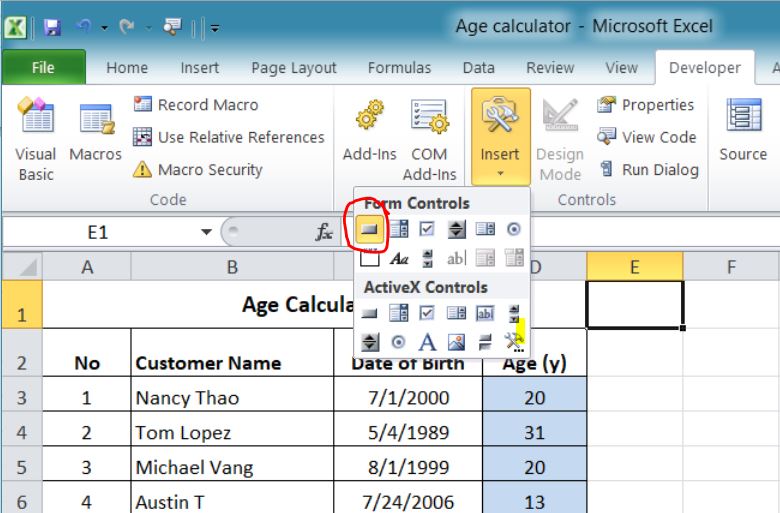
Step 1. Add a Button
- Under the Developer Menu, click Insert icon
- Select a Button icon from the Form Controls section
- Drag and place the button on Excel sheet.
- the Assign Macro window will open
- You can change the Macro name (Ex. PrintScreen)
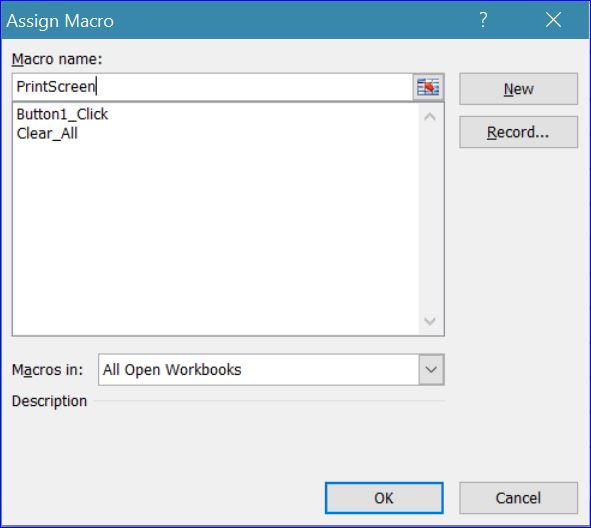
- Click on New button
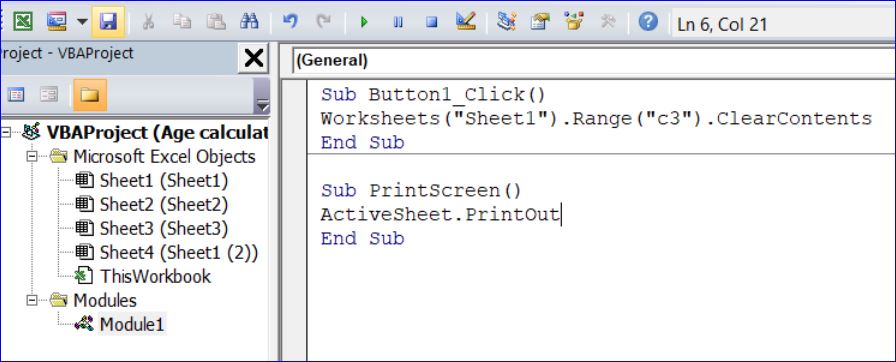
- A Microsoft Visual Basic for Applications will open as shown below. The VB code will be saved under the Module that can be used on any sheet under this workbook
Step 2. Enter VB code
- Using a PrintOut commend
- Enter VB code as PrintOut
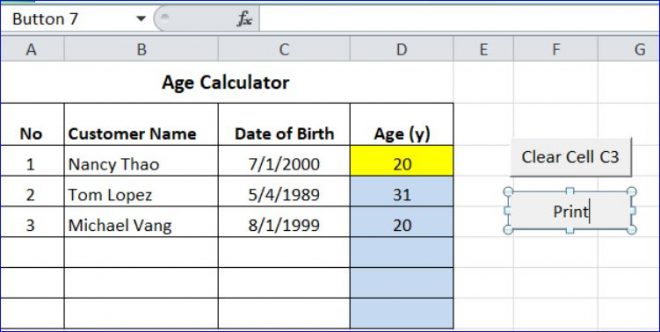
Step 3. Change a Button name
After you done with VB code and come back the Excel Sheet, a name of the button still shows the default name given by MS Excel. Now you can change it to the name as you want. For this example, I change it to Print as shown in picture below. You can also move the button around while it is on the edit mode (have rectangle line around).